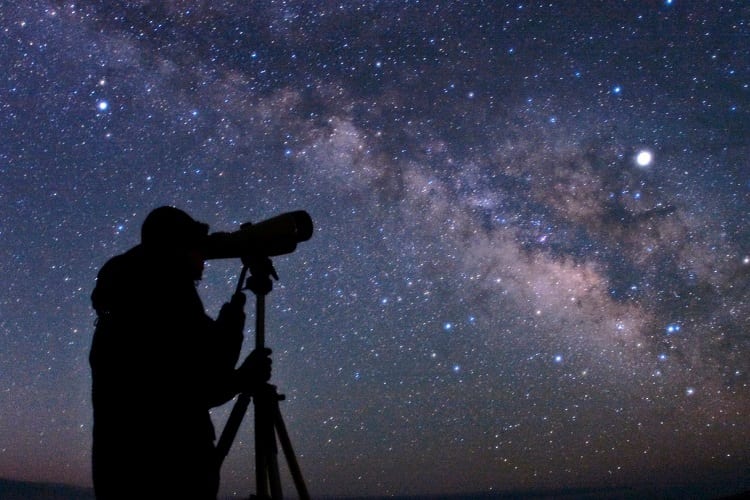
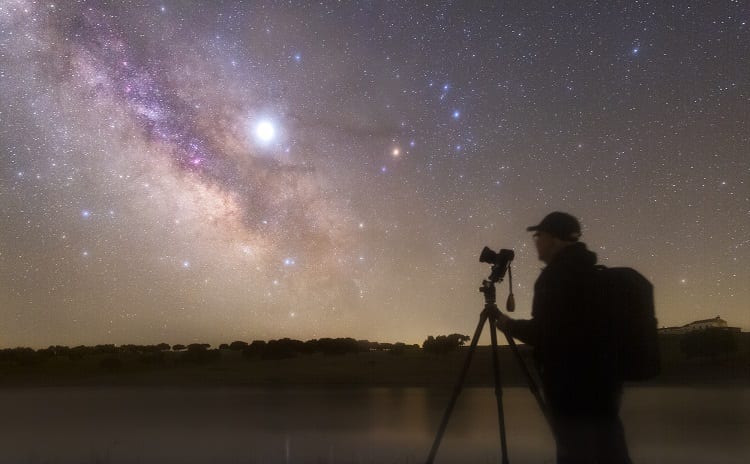
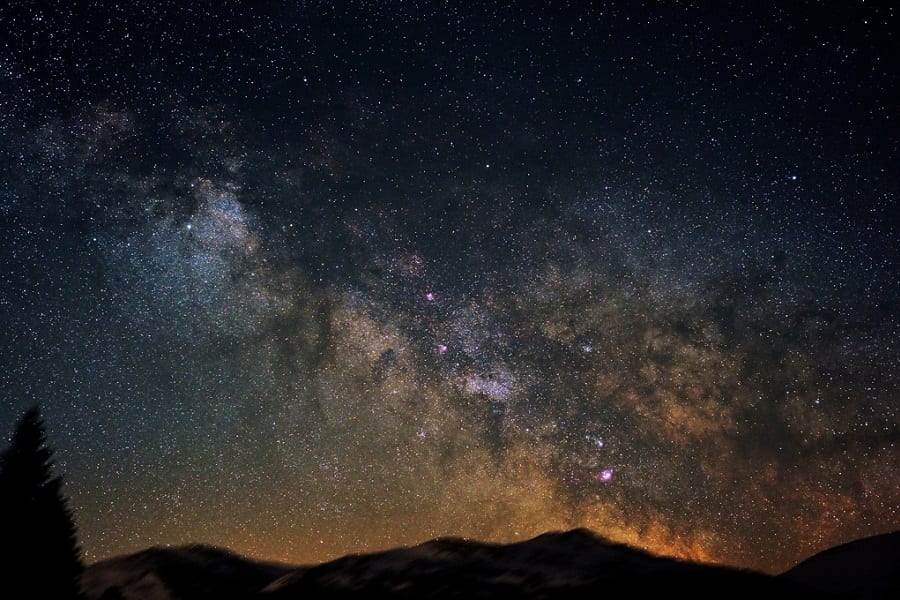
Being able to take amazing photos of the night sky is something you might aspire to achieve.
But maybe you don’t know where to start.
What gear do you need for astrophotography?
The most essential items you need to get started with astrophotography include a camera, telescope, lenses, mount, and tripod.
There are also some extras that will make your astrophotography even easier to accomplish and produce better photos. So, with that in mind, let’s check out this astrophotography guide so you’ll have all the tips you need to get started.
Contents
What, Exactly, Is Astrophotography?
Astrophotography can be defined as taking photos of objects in space with a camera.
These celestial objects can include anything, from the moon to the planets and nebulae. People who are interested in taking pictures of the night sky will use film and/or digital cameras to accomplish their goals.
You might be wondering what cameras are best. Will any camera do? What about other gear?
Let’s start with the basic gear that you need to take amazing photos of the sky.
Camera
Whatever camera you use, you’ll need to make use of a long shutter speed. This is because you want the camera’s shutter to remain open for as long as around 90 seconds as this will bring more light onto the camera’s digital sensor.
Here’s more info about the types of cameras that you should consider for astrophotography.
DSLR camera
A DSLR (Digital Single Lens Relax) camera is versatile and easy to set up, so it’s great if you’re a beginner. This type of camera also accommodates a variety of lenses.
It’s suitable for astrophotography because it has many uses: you can use it to shoot the planets and make use of long exposure deep-sky astrophotography, such as when you want to take pictures of the constellations.
But, you can also use DSLR cameras for other photos during the day, which makes them versatile.
That said, DSLR cameras aren’t always the best choice. This is because if you want to make use of high resolution to shoot the planets, you should rather choose a camera that’s capable of shooting hundreds of frames every second, as Astro Pix reports.
Similarly, for really high-quality long-exposure images of deep-sky objects, you should make use of a CMOS or CCD monochrome camera.
CMOS Camera
CMOS stands for Complementary Metal-Oxide Semiconductor, and this type of camera is great for taking pictures of the solar system as well as deep-sky imaging.
That’s because it can take pictures at a high frame rate at long exposures. The drawback of this type of camera?
You need to make sure you have the right software to run it, which can make setting it up a little more technical than you might like.
CCD Cameras
CCD (Charge-Coupled Device) cameras produce images with low noise, even when you take pictures at long exposure times.
This is due to their construction: they have in-built coolers that prevent the camera’s sensor from becoming too hot. If you want cameras that produce clear and clean images, then a CCD camera is worth considering.
Mirrorless Camera
Another commonly recommended camera for astrophotography is the mirrorless camera. People tend to choose it for astrophotography because it doesn’t produce vibrations. This is quite simply as a result of it having a mirrorless design.
Other benefits of mirrorless cameras is that they are usually less expensive than DSLRs and their lack of mirrors also means that they can provide detailed and fast images.
An important drawback about mirrorless cameras, however, is that you can’t use as many lenses and accessories with them as you can with DSLRs, so if you’re hoping to take your astrophotography hobby further in the future that’s something to bear in mind.
Lens
There’s a solid rule you should follow when it comes to astrophotography: use a wide-angle lens! This is important because you want to take in as much of the sky as you can, especially if you’re taking pictures of large objects, such as the Milky Way galaxy.
On the subject of lenses, also make sure that you have a large aperture.
This will ensure that your camera can collect as much light as possible to enable you to take good pictures. Aim for an aperture that’s f/4 but you can go up to f2.8. Bear in mind that the smaller the aperture number, the wider it will be.
Star Tracking Mount
Since the earth is moving so fast, you need to be able to move with the stars you want to photograph so that they don’t show up as trails in your images (although that can be a creative way to capture them sometimes).
To ensure your images remain clear and bright, invest in a mount such as the EQ3 equatorial mount. Other good ideas are the Sky-Watcher Star Adventurer or iOptron SkyTracker. These are motorized mounts that are easy to carry and allow for easy alignment so you can track the stars.
What about altaz mounts?
You might’ve seen these on the market, but it’s probably best to avoid them in favor of equatorial mounts. The reason for this is because they don’t track the stars in a fluid, smooth motion, as Sky At Night reports.
Use Star Chart Apps
You might not have any idea where any celestial objects are located in the sky, which can make astrophotography seem daunting. This is especially the case if you want to take deep-sky photos. This is why you need to download star chart apps to your smartphone.
These are pretty much like maps of the stars that help you to find celestial objects in an easier way.
A good app to consider is Stellarium, a planetarium software that helps you to identify what’s in the sky in real time, whether you’re searching for the planets, comets, constellations, or even satellites such as the ISS.
How To Make The Most Of Your Camera

In order to ensure that your camera works in the best way possible to create amazing astrophotography pictures, you need to know how to make the most of its settings.
Focus your camera
To focus your camera, you need to set it to manual mode. But make sure your lens is also on the same mode! Then, adjust your lens focus and bring it to infinity. This is a good place to start to help you take pictures of the stars with the use of a wide-angle lens.
Pro tip:
A good way to focus your camera is to aim for the brightest star you can see and view it on the camera’s Live View display. Adjust the focus a bit and magnify the image by around 5x so that you can zoom in on the star.
Make sure you adjust the lens focus ring until you can see that the star is really small and clear. Keep checking the Live View – if you see a bit of colour around the stars, then that’s a sign that you’re not focused enough.
Use a remote shutter release.
You don’t want to have to press the camera button to take photos as that can result in slight shaking which will disrupt your image quality. Rather invest in a remote shutter release cable.
Adjust your camera’s ISO.
This feature is one of the most important to get right. ISO basically refers to how much light hits the camera sensor, so obviously you want it to be as high a number as possible so that you capture clear and bright pictures.
That said, if you go too high with your ISO this risks the picture having noise, so you should aim to choose an ISO that’s between 800 and 1600.
What’s The Relationship Between ISO, Shutter Speed, And Aperture?
When you choose the ISO setting on your phone, make sure you make it compatible with the shutter speed and aperture. These three elements work together.
Basically, shutter speed and aperture affect how much light enters the camera, while ISO affects the amount of light that’s required to produce the right exposure.
If a large amount of light enters the camera lens and the aperture is small, the light will be blocked. This means that your camera sensor would need more time to gather more light so it has to remain open for longer.
When using a small aperture, make sure your shutter speed is longer. On the other hand, if the aperture is big, you’ll get more light reaching the camera’s sensor so a shorter shutter speed will be sufficient to expose the image.
If this speed is too low, however, the sensor will get too much light – this will have the effect of overexposing the image and it will make your photo subjects look too bright.
Now, when you tweak your ISO, you should remember that making it higher will make your image brighter. If you go from an ISO of 200 to 400, for example, you’ll make the image twice as bright. A bit of trial and error is good here to get the balance between ISO, shutter speed, and aperture right.
It’s good to bear in mind that if you increase one of the three settings, one or both of the others have to be lowered by an equivalent total to help you get the same exposure, as Tech Radar reports.
So, for example, if your shutter speed is lowered by four stops (like going from 1/25 all the way to 1/400), then less light will be collected by the camera and this means you need to increase your aperture by four stops (for example, going from f/16 to f/2.8) otherwise your picture will be too dark.
Make sure you adjust the camera’s white balance. “White balance” basically refers to the camera’s color balance. By adjusting it you can make up for the color temperature of the light source.
Put more simply, if a color in real life should be white but it’s showing up on your camera as something else, then you need to adjust the camera’s white balance.
While some cameras come with an auto mode setting to adjust the white balance and these work well for taking pictures in the daytime, astrophotography is a bit more complicated because the stars and nebulae release light.
To ensure you capture their correct colors, using daylight color balance settings can help you to see colors as they are. In addition, it means that stars that you see will show up as white, in the same way that the sun will appear white.
That said, if you take pictures of red-emission nebulae, you’ll need a camera that has had its long-wavelength filter adjusted. This, however, doesn’t make the daylight white balance accurate. A general rule when choosing the correct color settings is to choose ones between 3200K and 4800K.
This will also prevent the sky from taking on a reddish-brown appearance that can be unsightly.
However, if the sky is showing signs of light pollution, the light reflection can create a warm glow in the sky so you want to combat this by choosing 3400K to 3900K color settings, as Astro Backyard reports.
It’s also worth bearing in mind that some image processing processes used for astronomy don’t support custom white balance settings. In this case, make sure you use a program to process your images such as Images Plus v2.8.
Pro tip:
Make sure you shoot pictures in RAW format if you want to tweak the white balance of the images afterwards. If you choose to take JPEG images, you’ll need to ensure you use the correct white balance while shooting as you won’t be able to edit this in your images afterwards.
Tips For Taking Your First Shot

Right! You’ve got all the gear you need to start taking pictures of the night sky.
It’s exciting and you’re hoping you’ll have something really cool to show for it by the end of your photography session. To guarantee that, here are some important tips to bear in mind when taking your first pictures.
Use A Tripod
You need to keep your images as stable as possible. You need to ensure you have a tripod to keep your camera steady. It’s also essential to turn off your lens’s stabilisation (or the one on your camera) when you’re making use of a tripod.
This is because using stabilization features when you’ve put your camera on a tripod can backfire, causing blurriness.
Position Your Gear Correctly
If you’re using a telescope, your camera’s image plane should remain centered on, and perpendicular to, the telescope’s optical axis, Sky And Telescope reports. This will ensure that you avoid image distortions.
Find The Right Location
You can take pictures of the night sky from your backyard, but make sure you know where to look and when – a star tracking app can help you with this. Some other tips for choosing the right location include:
Avoid light pollution as much as possible.
Light pollution can seriously get in the way of your image quality, so you want to avoid it. While you can use light pollution filters, these won’t work with all types of light. You can learn more about light pollution in our article, “Guide To Light Pollution Filters.”
It’s a good idea to take a trip outside of the city so that you can get away from the light. It’s also a good idea to use an app like Dark Site Finder that will help you locate the best places to take pictures of the dark skies.
Choose appealing shots.
Astrophotography is not just about capturing a celestial object like the moon and making it the only subject in your photo. It can usually help to have other things in your image to create a more intriguing and appealing shot.
For example, the bright moon behind a beautiful tree or mountain can really take your photos to a higher level.
Take test shots
Set the camera on your tripod and take some test images before you get started. These will help you to ensure that you’re in the right spot and you’ve got the best camera settings.
For example, if you take a shot of the moon with an aperture of f/8, a shutter speed of 1/125, and an ISO of around 200, but you find that your picture is blurry, you should tweak it, such as by changing your aperture to about f/5.8.
Test shots enable you to make changes to your gear settings so that you don’t waste your time taking hundreds of pictures that you won’t use later.
How To Process Your Images

When you save your images, make sure that you make use of your camera’s best image quality setting. This will mean that you’re using its full resolution capability, Sky And Telescope reports.
Your astrophotography pictures will usually need to be processed afterwards.
It’s a good idea to consider stacking the images. This is the art of superimposing one image on the others and it helps you to eliminate noise. You can use free software such as Deep Sky Stacker to stack your images successfully.
When processing your images, software such as Lightroom and Photoshop can help you to bring your images to life. While processing is usually personal and affected by your likes and dislikes, there are some important tips to bear in mind.
- While you want your pictures to look as natural as possible, you don’t want to have any chromatic aberrations in them – those colorful halos that appear around stars – so you can remove them with lens corrections in Lightbox.
- Correct the white balance. By playing with the tint and temperature features of software such as Photoshop, you can get the right colors. It’s important to avoid images that are too blue and look artificial.
- Increase the stars’ colors. You can do this with applications like Photoshop. However, make sure you only do this once to boost the stars’ natural colors so that they don’t all look the same.
- Decrease noise. You want to sharpen your images and reduce their noise, which shows up as graininess. It can be caused by using an ISO setting that’s too high, shooting in a dark location with a long shutter speed, and/or underexposure of your images. Some things you should do to reduce noise include preserving details, removing random color pixels, and using a sharpening control feature (such as in Photoshop) to restore the image clarity which can be eliminated when you try to decrease noise.
- Be wary of over-processing. If you process your images too much, such as by enlarging some parts too much, you could end up with unrealistic pictures that aren’t worth keeping. For the best shots, focus on capturing the celestial objects in their natural beauty.
Related Questions
What should you do if your digital camera’s batteries keep running out?
It’s a good idea to buy rechargeable nickel-metal hydride batteries so that you can enjoy taking more pics for longer. This is also useful because lithium or alkaline batteries tend to be costly.
Do you need a telescope for astrophotography?
Although it comes down to preference, you can take lovely pics of the sky without a telescope and instead make use of your camera and wide-angle lens.
Conclusion
While you might not know where to start with your interest in astrophotography, this article provides you with a clear guide on the gear you need to get started as well as how to use it in the best way to get the best shots possible.
The night sky awaits you – go out and enjoy taking pictures of it in all its spendlor!


