You might think you can’t really photograph the Milky Way galaxy.
For starters, you can’t really see it. Although it’s said that you can see it with binoculars or a telescope, you might find that you’ve never been able to view it in the sky.
Why can’t we see the Milky Way?
Alarmingly, this is because of light pollution. Research has found that approximately one-third of the world’s population can’t see the Milky Way, as Christian Science Monitor reports.
It’s crazy to think that the Milky Way would be visible everywhere in the world as long as it was a moonless and clear night.
Of course, it’s worth bearing in mind that we can’t see it in its entirety – you’ll see different parts of it depending on where in the world you’re located.
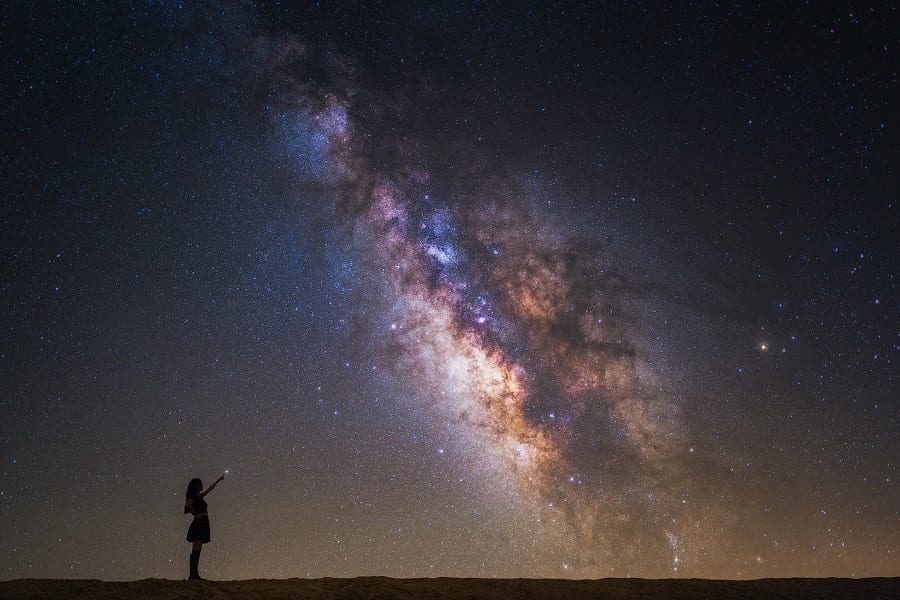
If you do get to see the Milky Way, it’s like a dazzling ocean of jewels in front of your eyes, so imagine how amazing it would be to be able to photograph it!
Contents
How To Photograph The Milky Way
To help you get started with taking photos of the amazing Milky Way, you’ll need to follow some important tips.
Make Sure It’s A Dark Night
You need to be sure that the sky is really dark and if you can, it’s a good idea to reduce light pollution.
You can do this with the use of filters (read our article, “Guide To Light Pollution Filters”) but it might be an even better idea to grab your telescope, camera, and other astrophotography gear and head out of the city so that lights can’t get in the way of your shots.
Choose The Right Time
The section of the Milky Way that’s visible to you isn’t always visible.
While that might sound strange, if you live in the Northern Hemisphere the ideal time to take pictures of the Milky Way is between February and September because during this time it will be located in the southern part of the sky rising from the east.
On the other hand, if you live in the southern hemisphere, you’ll be able to see central parts of the galaxy overhead.
What Camera To Use?

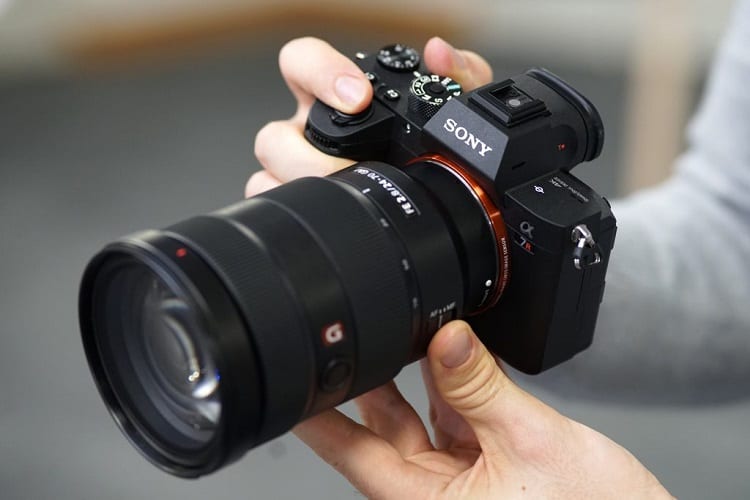
There are two good options to consider if you want to shoot pictures of The Milky Way. These are:
- DSLR cameras: Full-frame ones are optimal, because these cameras draw in the most light due to their sensors being large. They also have better ISO range (which we’ll get to later on in this article!).
- Mirrorless cameras: These offer you a range of lenses that you can use on the camera, and they work well when you want to take photos in low-light conditions.
Whatever camera you choose to take pictures of the Milky Way with, you need to ensure that you use manual camera mode.
This is because the auto-mode camera feature won’t do well with a lack of light. You want to be in control of all the camera features you need to take high-quality pictures.
Tweak Your ISO Settings
The ISO of your camera is a number that determines how sensitive the camera’s sensor is to light. You want your ISO to be high to enable you to photograph the Milky Way. A good ISO to start with is around 3200.
That said, it’s always a good idea to set your ISO after you have chosen the appropriate shutter speed. The reason for this is that if you set your ISO too high from the beginning, it can mess with your image.
Make Use Of Long Shutter Speed
Your camera’s shutter speed is basically the length of time that the sensor inside it is exposed to the light. When taking pictures of the Milky Way, you want it to get as much light as possible, so it has to stay exposed for longer.
The problem when taking pictures of the Milky Way is that the earth’s rotation can cause your open shutter to cause star trails.
If you want to avoid them, it’s crucial to make use of the “500 rule”.
This is when you divide 500 by the lens’s focal length. So, that means if your lens is 24mm you’ll have to ensure you use shutter speed that’s 20 seconds. This will ensure that you don’t lengthen your shutter speed too much that it causes image distortions.
Get The Right Lens
You want the lens you use to have an aperture of f/2.8 at the very least so that it will capture enough light for you to be able to take beautiful photos. In addition to that, you also need to use a lens with a wide angle.
This is because you want to take in as much of the Milky Way as possible in one image. By choosing a wide-angle lens, you’ll also have less zoom on the image. This means that you can make use of long exposure times before blurriness starts to get in the way of your image.
On the topic of your lens, you should also make sure that you use the infinity point on your lens.
This is marked by the infinity symbol, and it’s useful for producing sharper pictures. This is because infinity focus enables everything in your frame to focus, no matter its distance from your lens.
Other Things You Will Need To Photograph The Milky Way

Get A Tripod
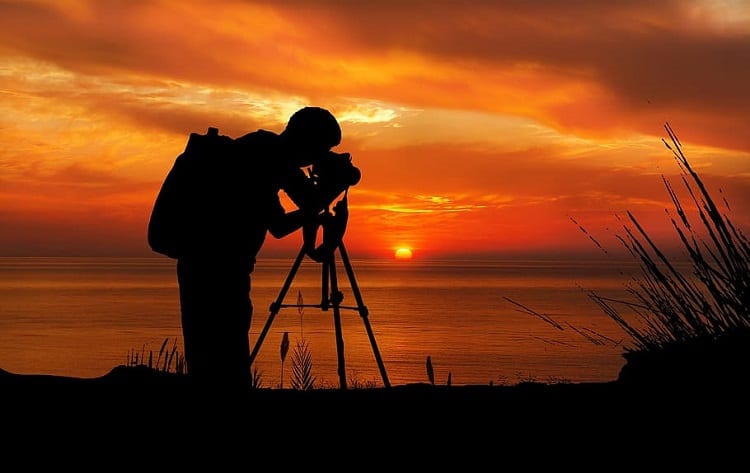
Since you’re going to be using long exposures, you need a strong tripod to prevent your camera from shaking.
When choosing the type of tripod to buy, you should opt for one that’s got a ball head design instead of one with a pan-tilt head. This is because it’s easier to adjust.
Download An App
Sometimes it can really help you to track where the Milky Way will be visible with the use of an app so that you can plan your astrophotography much better. A useful app to download is Star Walk 2. This will show you the exact location of the Milky Way.
What Pic Format Is Best?
Should your pictures be JPEG or RAW? With JPEG, you might find that your pictures don’t achieve the level of detail you want. This is a pity, especially when you’re taking shots of a galaxy like the Milky Way.
Therefore, RAW format is best. It also gives you many options for enhancing the quality of your images after they’ve been taken, which is what you want.
How To Edit Milky Way Images
Your Milky Way photos will probably benefit from some editing after they’ve been taken. It’s a good idea to take multiple shots and then use a program like Deep Sky Stacker to stack the images.
This will help to prevent noise in the image, which is graininess that removes details from view and makes the image appear to have low quality.
Once you’ve got your image, you should move it on to a different program, such as Lightroom.
Here, you can allow the deepest colors from the pictures to come to the fore. Some elements of the picture that you should consider tweaking to increase the quality of the image include contrast, white balance, clarity, and digital noise reduction.
Related Questions
How can you find The Milky Way without an app?
When you look at the night sky in the Northern Hemisphere, you want to find the Scorpius constellation. Its head always rises just before the Milky Way’s core. So, if you find Scorpius, look to its left and you’ll find the core.
Why is it called The Milky Way?
The Milky Way got its name because it looks like a milky band of light in the sky when you see it in a dark area, as NASA explains. Amazingly, the Milky Way contains over 100 billion stars.
Why can’t you take pictures of the entire Milky Way?
As mentioned earlier, we only see parts of the Milky Way, depending on where we are. This is because we’re inside the galaxy so we can’t achieve an image of it in its entirety.
Conclusion
If you’re interested in astrophotography, taking pictures of the Milky Way is guaranteed to feel like you’ve reached a milestone. But you might not know where to start – or even how to see it in all of its splendor.
In this article, we’ve looked at everything you need to know to get started with photographing the Milky Way and how you can make your images come to life.
Once you’ve pinpointed where the Milky Way will be most visible to you based on your location, you’ll be able to prepare for taking fantastic photos of it. Enjoy!


