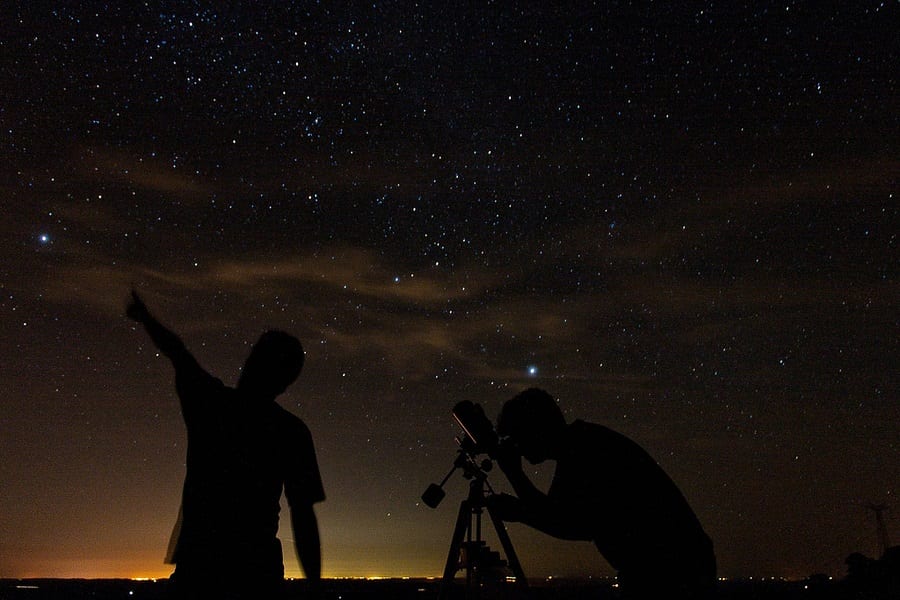
Anyone can become an amateur astronomer.
Thanks to technology, you can turn your backyard into your own astronomy site and see the stars and other celestial objects with ease. There are also tons of resources to help you along the way, like when you’re eager to track the stars.
What, exactly, is astronomy
Astronomy can be defined as the study of the moon, sun, planets, stars, comets, galaxies, gas, gas dust and other non-earthly bodies as well as phenomena, as Space reports.
Ready to get started?
Here’s what you need to know.
Contents
How To Start Your Astronomy Hobby
Although getting started in astronomy might seem like a daunting task, the truth is that you don’t have to start big. In fact, before you can go hunting for stars and other celestial objects, it’s a good idea to start small – look up at the sky with the naked eye.
This is useful because it will help you to locate the brightest and most visible stars in the sky so that you can later use those to “star hop”, which is when you find patterns in the stars to help you locate more stars and increase your knowledge of the sky.
You can see lots of objects in the sky without using any specialized equipment. There’s an entire guide to help you find objects in the sky in this way that’s been published by University Lowbrow Astronomers.
The site mentions that you should make the most of star charts to help you so that you know where you should look in the sky to spot galaxies, stars, and planets. But more on star charts in a bit!
Progressing To Binoculars
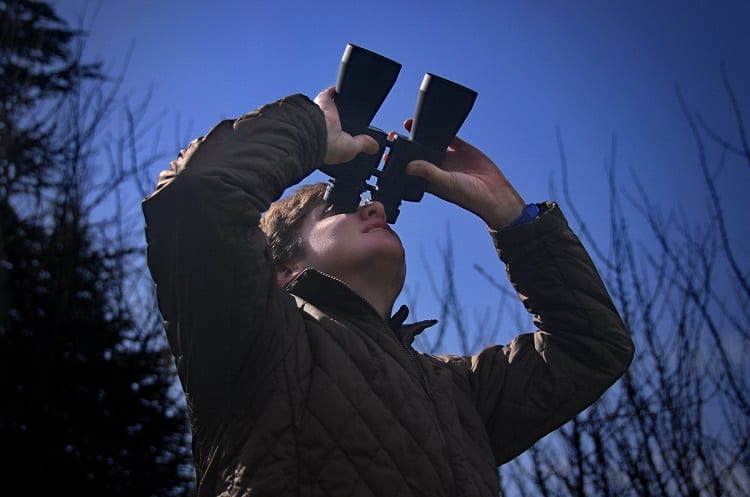
Now, while you can see a lot in the sky just by gazing up at it, it’s worth bearing in mind that if you want to see more details you’ll have to invest in a good pair of binoculars.
These can help you to see up to 50 times more stars than you would with the naked eye, as Space reports.
Since they have a much wider view as compared to a telescope, binoculars make it easier for you to find objects in the sky, so they’re especially good if you’re just starting out as an amateur astronomer.
But what type of binoculars is best?
Here are some things to know: It’s important that the lenses of your binoculars are large so that they will collect enough light to enable you to see faint details in the sky.
Your binoculars need to have good optical quality and have coated lenses. When shopping for a new pair of binoculars, you can test out if they have valuable coatings by looking at their front lenses with a bright white light on them.
This will help you to see if the reflection of light is bright or not. You should choose binoculars with reflections that look as dark as possible, as this shows the coatings are of good quality.
Why are coatings so important?
You want these to be of high quality so that they can increase the transmission of light through the glass as well as decrease the problem of light getting scattered, which can create blurriness, as Sky and Telescope reports.
Your binoculars should be equipped with magnification of at least around 8x, so that you’ll be able to see more details when you look at the sky.
Ready To Move On To A Telescope?
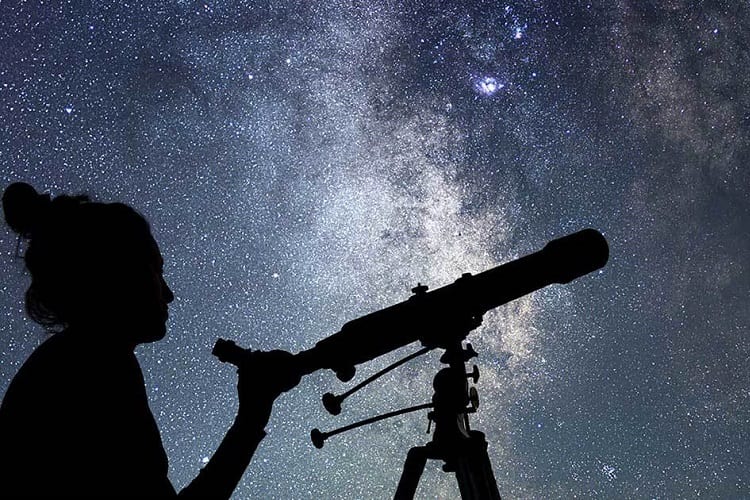
If you’ve been using binoculars quite happily for a while, you might wonder if you even need to make use of a telescope. There are some important benefits of using a telescope for astronomy that you should know about.
The most important one is that telescopes gather more light so that you can better see celestial objects in the dark night sky. This is essential to get high-quality views of what you’re trying to see.
There are two main types of telescopes: a reflector and a refractor. While they both have their advantages, you want to focus on the telescope type that will enable you to use it quickly and easily.
In this case, a reflector telescope is the right one for you because it’s ideal for viewing in low-light conditions. In fact, it’s been said that purchasing a reflector telescope is the best purchase to make if you want to get value for your money.
It’s also good for viewing deep-sky objects, so if you’re starting out with astronomy and you’re still only viewing the planets and stars you can see, it’s a worthwhile investment to choose a reflector telescope for the near future because you’ll be able to grow with it.
We delve deeper into both of these telescope types in our article, “Refractor vs Reflector: What’s The Best Telescope Type For Astronomy?”
What features should your telescope have?
Whether you choose a reflector or refractor, you should ensure that the telescope has the following important features:
- Get the largest aperture you can find, depending on your budget, because this ensures that your telescope will collect as much light as possible. Aim for a telescope with an aperture that’s at least 70mm.
- Choose the right focal length. The focal length is an important feature because it plays a role in how well the telescope will be able to magnify what you see in the sky. You want a longer length because it will decrease your field of view but increase how much you can magnify objects. Longer focal length is a good place to start because it will grant you great views of the moon and planets. A shorter focal length, on the other hand, will widen your field of view. This is better for observing deep-sky celestial objects such as nebulas and galaxies.
- Opt for decent magnification. The magnification feature of your telescope is a tricky one because it’s easy to think that your magnification should be as high as possible. But don’t believe that hype. You should actually just ensure that your telescope has a maximum useful magnification that’s 50 times its aperture in inches, as Sky and Telescope reports. That’s all you need.
Should You Buy A Telescope Mount?
You’ll need to invest in a mount for your telescope that will help you to track celestial objects in the sky, but there are two types of mounts to consider: the altazimuth mount and the equatorial mount. They both have advantages and disadvantages.
An altazimuth mount can be moved left to right and up and down, and it’s easy to learn and use. However, an equatorial mount helps you to track stars more effectively because of how it’s aligned with the earth’s rotation.
Having a mount for your telescope will keep it nice and steady and prevent vibrations so that your view can be free of blurriness. This is especially important if you’re keen on taking pictures of what you see in the sky.
How To Get Into Astrophotography
Speaking of taking pictures of the night sky, if astrophotography interests you it might seem a little overwhelming. How are you supposed to take pictures of what you see in the sky? Do you need a lot of gear? Is it going to be expensive?
These are probably all questions that you might have.
As a beginner, it’s good to start by keeping things simple. Get armed with a good camera and lens and you’re already making great strides! Here are the most important things you’ll need to jump into astrophotography.
Camera
Obviously, your camera is the most important piece of equipment you’ll need to get started with astrophotography. Common camera types that are suitable to use include mirrorless and DSLR cameras.
DSLR cameras have an optical viewfinder that works well in poor visibility but they are a bit more complicated to use than mirrorless cameras, which are light and fast but don’t offer you the chance to use a range of different lenses on them.
No matter what type of camera you own, it’s essential that you can play around with its settings to get the best setup for astrophotography. Some important camera settings include:
- Slow shutter speed. You want to be able to take in the celestial bodies that are moving slowly in the sky, so you want your camera shutter to stay open for as long as possible to collect as much light as it can to enhance your shots.
- High ISO. The ISO is basically how sensitive the camera’s sensor is to light. You want the ISO number to be a large one so that it will collect more light you need, especially if the light is faint.
- Sensor size. Both DSLR and mirrorless cameras will have sensors and you want to be sure the sensor is large so opt for a full-frame camera. This ensures that the sensor will be able to gather more light and it will also have a better ISO range to work with.
- High amount of megapixels. You want to invest in a camera that has a high megapixel count. This will ensure that you can take pictures at higher resolutions.
Tripod
Don’t try to take pictures while holding your camera. You’ll never make it perfectly steady and that can ruin your shot.
Invest in a quality tripod that’s strong and sturdy to keep your camera still. Pro tip: choose ball-head tripods. These are better than panheads because they have greater range of motion.
Headlamp
You’re going to be taking photos of the night sky in very dark conditions, so you don’t want to be fumbling around in the dark with camera settings and all your gear.
A headlamp will help you a lot because it means you’ll be able to adjust your equipment easily and prevent damaging your gear by tripping over rocks in the outdoors.
Wide-Angle Lens
This is crucial for astrophotography because you want to widen your field of view so you can take in more of the celestial object you’re interested in capturing, such as if you want to take photos of the Milky Way.
Lens Hood
Make sure you have a hood for your lens. This will help to block out unwanted external light that’s around you, thus avoiding problems such as lens flare. This is when other sources of light enter the camera’s lens and strike the sensor, causing haziness or halos to appear.
Remote Shutter Release
It’s important to make use of a remote shutter release for your camera so that you don’t have to touch the camera to take photos with it. Not only is this convenient but it will prevent vibrations from creating star trails or blurriness.
Backup Batteries
Nothing will kill the enjoyment of a stargazing trip like running out of battery life!
Make sure you pack at least one extra battery pack for your camera if you’re going to be taking lots of pictures. This is because long exposure images will drain your camera’s battery much faster.
Sky Map
As a beginner astrophotographer, you won’t really know where everything is located in the massive sky and you don’t want to waste precious time (or battery life) by not being sure of where to start taking pictures.
Plan ahead for your excursion by getting your hands on a quality sky map, which is basically a map of what you can expect to see in the night sky when you look up at it in different locations.
Here’s what you need to know about using a paper sky map.
- First you’ll need to determine the direction you’re facing, such as by looking at where the sun rises every morning or sets every evening so that you can locate east and west from your location.
- It’s worth bearing in mind that many sky charts seem to have compass points that are the wrong way around but this is not a mistake – since it’s a sky map, it has to be held over your head, face down, so that the east and west locations will be the right way around, as Society For Popular Astronomy reports.
- You’ll see that your sky chart will show brighter stars that are in the sky as large dots and dimmer stars as smaller dots. This is important because you want to locate the brightest stars you can see as this will help you to start mapping out the sky and finding celestial objects that you want to photograph. It’s probably a good idea to locate Orion because it has three bright stars (Orion’s Belt) that are situated in a straight line.
- Once you’ve successfully located Orion, you should move your sky map around so that you can match where the stars in the sky are located and continue exploring it as much as possible.
There are different types of sky maps that you can find, such as paper maps from Sky Maps that you can print out or digital maps. You can even find sky map apps that you can conveniently download to your smartphone.
Whichever one you prefer will come down to your personal preferences, but there are some things to consider. While it’s awesome to be able to view a sky map on paper and have it in your hand, it’s not as convenient as using a digital map.
In addition, digital and app-based sky maps give you extra features that you won’t have with a paper map. An example is being able to point your device to any spot in the sky overhead and see what celestial object is hiding there, waiting to be found.
If you’re going to be heading out of the city to a location to stargaze, it’s more practical to have sky maps on your phone.
There are loads of sky map apps to check out. These include:
- Sky View Lite: You can use this app to identify stars, constellations and planets, and track them – simply by pointing your phone at the sky. You’ll also receive valuable information about celestial objects to increase your knowledge of them.
- Star Chart: This app works in the same way as the previous one we mentioned: you just point your phone up at the sky and it will inform you of what’s there. It’s really useful for planning your stargazing adventures because you can even use it during the daytime to map out what you want to see and capture. As a bonus, you can also use finger gestures to point to the sky.
Why You Should Join Astronomy Clubs
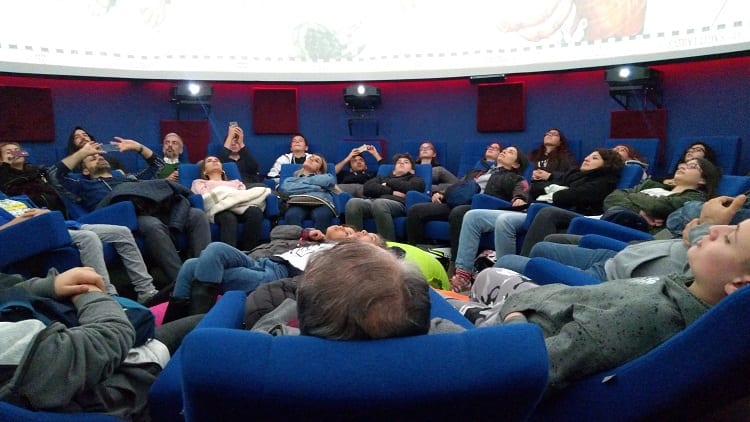
Joining an astronomy club is a good idea to bring you into the same space as likeminded people who share your passion for stargazing.
You’ll learn lots of new information and useful tips, while possibly getting the chance to borrow equipment that could improve your astronomy hobby.
Many astronomy clubs will also host events that involve going to dark-sky observing sites which will help you to see celestial objects under the right conditions, such as without light pollution.
You should contact your local planetarium or science center, or the astronomy department of a university in your area to find where astronomy clubs are located in your area.
You could also consult astronomy magazines as they usually have information about astronomy clubs and their events. These are useful to stay up to date with so that you don’t miss anything exciting, like the chance to view lunar eclipses and meteor showers.
What About Astronomy Forums?
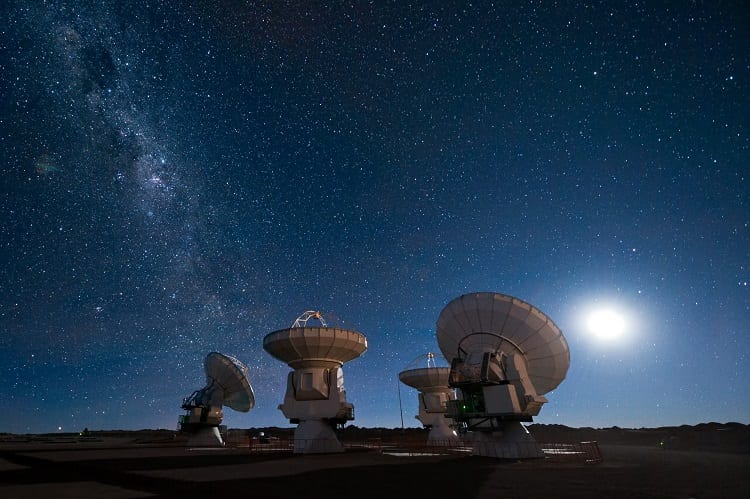
Everyone’s on the internet these days because there’s so much information available. It’s no different with astronomy and astrophotography.
Checking out useful forums will help you if you experience an issue or just want to read up on people’s opinions when it comes to the latest astronomy gear.
Here are two of the best astronomy forums to visit.
Cloudy Nights Forum
This is a really popular forum. In some topics of discussion, you’ll see hundreds of thousands of comments from members, so the forum’s really active.
Check out their celestial events section to help you remain informed about the latest events, like meteor showers you don’t want to miss, as well as what else you should be striving to spot in the night sky.
Stargazer’s Lounge
This is a highly active forum for amateur astronomers to chat about a variety of topics.
There’s a whole section dedicated to beginners, with advice ranging from how to choose the right equipment to how to start with imaging. There’s also a classifieds section that will come in handy if you’re looking to buy equipment on a budget.
Related Questions
Should you purchase a telescope that’s controlled by a computer?
You might not have a need for this feature but it’s certainly useful if you want to be able to follow celestial objects as they move across the sky.
What are good binoculars for astrophotography?
A pair of 7×50 binoculars are great to help you see what you want to photograph and they’re easy to hold steadily. You can also use them for other activities, such as birdwatching, which is a bonus.
Conclusion
Starting out with astronomy doesn’t have to be daunting – or cost you a lot of money.
As we’ve seen in this guide to astronomy 101, you should start looking at the stars and planets with the naked eye before moving on to using other instruments, such as binoculars or a telescope. Anyone can be an amateur astronomer, so don’t think that you can’t.
By knowing some important tips, such as those outlined in this article, you’ll be well on your way.
It’s also good to make use of a wealth of resources that exist online for budding astronomers and astrophotographers, such as when it comes to stargazing forums and local astronomy clubs that can boost your knowledge and improve the types of photos you take of the dazzling night sky.
