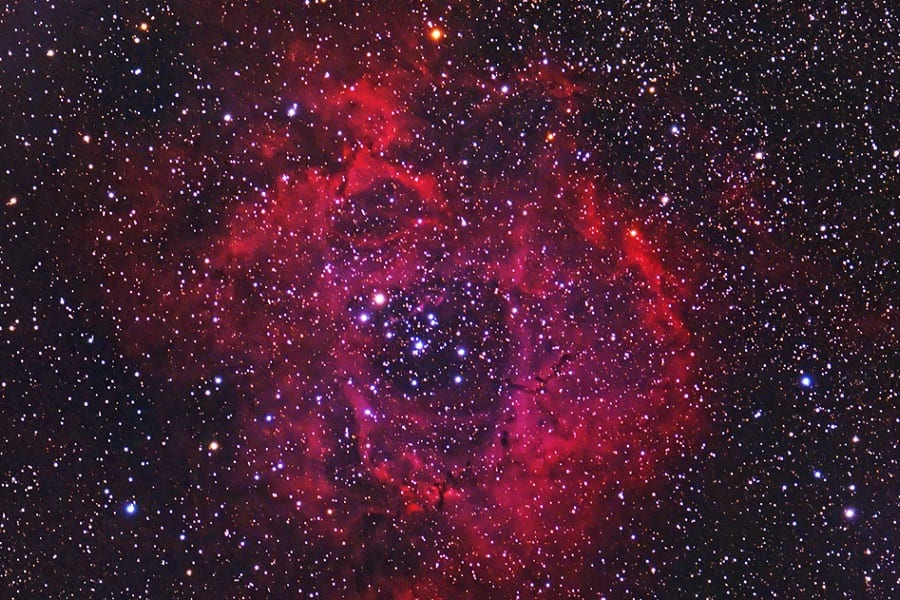
Maybe you’ve taken pictures of what you can see with the naked eye when you look up at the sky, like some bright stars and the moon.
But if you want to travel deeper into the night sky, you’ll need to know how to take pictures of deep-space celestial objects.
What are deep-space celestial objects?
These are heavenly bodies that reside outside of our solar system. There are three main types of deep-sky celestial bodies: star clusters, galaxies, and nebulae.
It’s exciting to think that you can locate and photograph these heavenly bodies. But where do you start?
Here’s our guide to deep-sky astrophotography.
Contents
Start With Binoculars
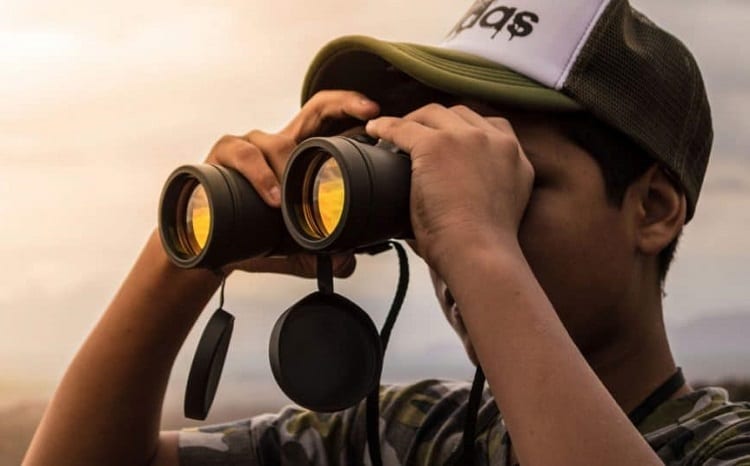
You can use your trusty binoculars to see deep-sky objects. Using these is actually a great place to start to help you become more acquainted with celestial bodies.
Don’t knock binoculars in favor of a telescope – binoculars have a wider field of view, and this will make finding the objects easier. You can find tons of objects, such as the Hydra’s Head constellation and star clusters such as Melotte 186 and Pleiades.
Your binoculars don’t even have to be big to view the above examples.
A compact pair of binoculars with dimensions of 10 x 30 will bring dull stars to life. For some others, though, you’ll need larger binoculars. Aim for 15×70 so that you’ll be able to see heavenly sights such as the Cigar Galaxy and Bode’s Galaxy.
Look Up At The Right Time
You might be raring to go and check out what deep-sky objects you can see with your binoculars, but you need to ensure that you do so at the right time of year.
For example, the M13 star cluster is located within the constellation of Hercules, and it should be spotted during the months of May to July.
The reason why you need to pay attention to the time of year is because of the Earth’s rotation – what you can see during the winter months won’t always be visible during the summer months. An example is the Orion Nebula.
It’s most visible to the Northern Hemisphere from the months of November to February, so that’s when you should try to locate it in the sky.
Sea and Sky has a calendar that you should consult with so that you can see what celestial events are visible at what times of the year. Another good resource is Telescopius that will help you better plan what you’ll be able to see in the sky and when.
Consider The Brightness Of The Sky
Light pollution is a problem that you’ll encounter during astrophotography.
It’s basically the light around us that can make starlight look washed out, so you want to try to reduce it as much as possible. You can do so with the right light pollution filter, which we discuss in detail in the article “Guide To Light Pollution Filters.”
That said, Sky and Telescope reports that light pollution is reduced around 11 o’clock at night as this is when some outdoor lights and residential lights will be switched off, allowing for a much darker location from which to view the night sky.
Another tip is to pay attention to the sky during the day as this will show you if the night sky will be nice and dark or not great for astronomy viewing.
Basically, the cleaner and bluer the sky looks during the afternoon, the cleaner and darker the air will be at night, the website goes on to report.
Get The Best Camera
When choosing what camera to use for deep-sky astrophotography, it’s important to ensure that it has the following features and you need to know how to use them to their maximum potential. Here are tips.
High ISO
Your camera’s ISO is basically how sensitive its sensor is to the light. When you take pictures of a deep-sky celestial body, you’ll need to allow your camera’s sensor to pick up the smallest pinpricks of light so you want to increase your camera’s ISO level.
CCD or CMOS Sensor
The type of sensor your camera has is also important. You should ideally have a CCD or CMOS sensor. These sensors are useful for deep-sky astrophotography because they work well when you want to take long-exposure shots.
Dynamic Range
The camera’s dynamic range refers to how well it can pick up details, like highlights and shadows, that will make your photos look so much better. You want a high dynamic range as anything less will produce distortions, such as star trails, instead of the clear, sharp images you want.
Strong Focus
Your camera’s focus is important to help you see celestial objects clearly. Make sure you set your lens or telescope to a focused position for distanced objects before you begin finding your celestial objects. Here are other tips to follow:
When you find a star that’s bright, you want to center it and then get closer to focus on it. Your camera’s Live View display is good to use so that you can zoom into the star.
You should strive to focus up to a point where the star is the smallest it can go. Note that if you’re using a telescope or lens, you will need to refocus a few times because very subtle temperature changes can change the focus.
Therefore, it’s a good idea to try to focus at different times of the night.
Good Aperture
The camera’s aperture needs to be as wide as possible in order for its sensor to be able to collect enough light so that deep-sky objects will be more visible and look more detailed. You should aim to use an aperture that’s at least f/2.8 to f/5.6.
Once you’re sorted with the above features, bear in mind that you don’t have to have the most expensive camera to take pictures of deep-sky objects.
Get The Right Filters To See Nebulae
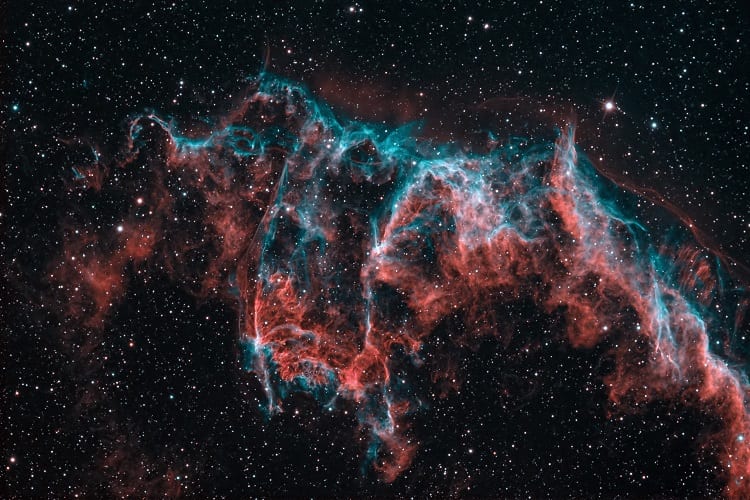
Nebulae, those intriguing clouds of dust and ionized gases, should be viewed with the biggest telescope you can find. This is because a larger telescope will enable the use of filters and these will help to block out excess light so that you can better see the nebulae.
You want to look for filters that are labeled as “LPR” (light pollution reduction), “deep-sky”, or UHC (ultra-high contrast). These will all help you to see the nebulae better.
That said, you shouldn’t use a filter to view reflection nebulae as this will make them look dimmer. Reflection nebulae are clouds of interstellar dust, and they reflect the light emitted from stars that are in close proximity to them.
Choose A Tracking Mount
A quality mount that can accommodate your camera, telescope, and accessories is an important piece of equipment. If you want to take pictures of the deep sky, a mount will make your images much clearer and sharper.
This is because long exposures that you need to use in order to be able to pick up details of light-starved celestial objects in the deep sky benefit from the use of a stable mount that can enable you to track the objects with ease.
You’ll also want to be able to focus on a star and other objects for a long time – sometimes you’ll need to do this for several minutes, while other times you could spend an hour trying to get good shots.
In order to successfully track celestial objects, you’ll need to choose the right kind of mount. Two of the most popular ones are altazimuth and equatorial mounts.
Altazimuth mounts work by tracking the stars with up and down movements and left and right movements, so they work well if you want to track the sun, moon, planets, and bright clusters of stars.
An equatorial mount, on the other hand, is better for deep-sky astrophotography. Your telescope will be able to move in the directions of north-south and east-west, not just up and down or left and right in the way that an altazimuth mount does.
As the earth moves, you can easily follow celestial objects you want to track by moving the telescope in one direction – to the west, as Sky and Telescope reports.
You need to polar-align your mount, though. What polar alignment means is that your telescope mount turns at the same angle as the Earth’s rotation. This will help you to properly track stars and prevent blurriness or star trails from forming in your images.
Here’s how to polar align your mount:
- Start by focusing the mount’s polar axis on Polaris, the North Star.
- Point your telescope to a star that’s above the celestial equator – it should be as close to south as possible (opposite Polaris).
- Use an eyepiece for this next step. Put the star on the south or north edge of your field of view. Defocus it a bit. If your eyepiece contains cross hairs, you want to center the star on them.
- Turn on the clock drive. If the star starts to move to the south in your eyepiece, this means your polar axis is targeted to the east too much, Sky and Telescope reports. If it moves north, the polar axis is located too far to the west.
- Make adjustments to the polar axis accordingly so that the star doesn’t drift.
- Then, you want to locate a star that’s close to the celestial equator and low in the eastern sky.
- If the star is moving south, this means the polar axis is far too low. On the other hand, if the star moves north, it’s too high. You need to make adjustments.
- Once that’s done, start from the beginning and repeat all the steps. This is to fine-tune the process.
Since you want to make use of long exposures with astrophotography, a great feature to look for in a mount is the auto-guiding one. This enables you to take exposures that are 10 minutes or longer.
Make Sure You Get Tracking!
You want your images to be colorful and bright, and this can be achieved with your camera sensor that picks up more detail and light than the naked eye.
What’s known as tracking enables you to ensure the telescope and camera can “lock” onto the celestial object you’re interested in photographing to help you capture more details in it.
You can track with a software program known as PHD Guiding 2. This program works by linking to the telescope mount and it makes adjustments to your tracking of deep-sky objects for the most accurate views.
How To Choose Field Of View (FOV)
It makes sense that astrophotography relies on your field of view. Field of view basically refers to how much of the sky you’ll be able to see.
You obviously want to increase your field of view when taking images of deep-sky celestial objects, especially when they’re large, such as in the case of galaxies like the Milky Way.
You can check how much FOV you’d be able to get based on the equipment you’re using on the Astro Tools website. You’ll have to punch in details such as the deep-sky object details, your camera information, and your scope aperture as well as focal length.
What’s useful about this website is that you’ll also be able to see how the moon, sun, and planets such as Venus will look to you based on how you intend on viewing them, so it’s a practical way to help you plan for your next astrophotography session.
How To Prevent Atmospheric Effects On Your Images
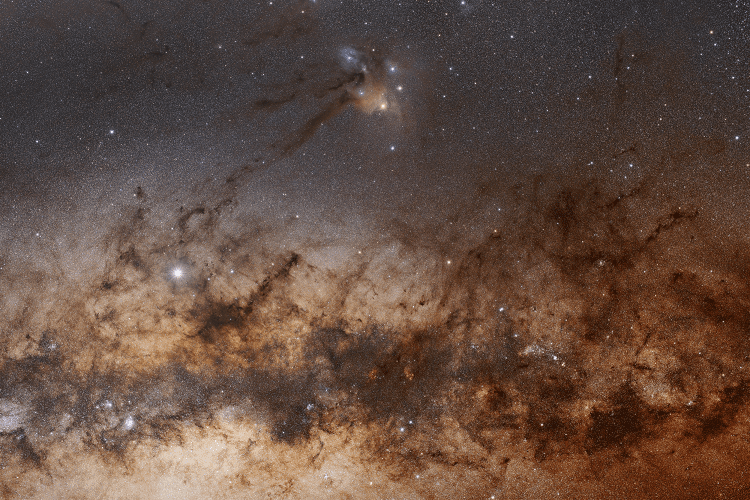
There are many things that can get in the way of your image quality. Atmospheric turbulence is an example.
This can be described as the chaotic flow of air into the earth’s atmosphere. It can distort your images and even cause you to see false details in them. Examples of how atmospheric turbulence could show up in your images is by making them look hazy or shimmery.
This problem can affect your telescope. As Sky and Telescope reports, it affects the scope’s mirror or objective lens. These have to be at air temperature otherwise they will be surrounded by that wavy envelope of air that’s warmer or colder than the night.
You should therefore allow your scope the chance to reach the same temperature as its surroundings before using it.
If you’ve ever noticed that your view through your telescope is so much better about half an hour after you’ve been using it, that is why. So, set up your astrophotography gear early and then wait a bit.
It’s also a good idea to ensure that your surroundings don’t have objects or structures in them that can be absorbing the heat of the day and causing you problems such as haziness in the air.
So, viewing the sky while you have grass at your feet is better than standing on a pavement that can feel hot and which absorbs heat, Sky and Telescope goes on to explain.
Then, for both your camera and telescope, it’s important to invest in a tripod that will keep them secure, otherwise those vibrations will cause distortions in your images. No matter how steady you think you are, your view and images could still be affected by subtle shaking.
You should also note that you can deal with these issues when you process your images. Image stacking is a solution.
This involves taking multiple shots of the same celestial scene and then combining them to reduce noise and turbulence. You can find out more about image stacking by reading, “How to stack images for better quality and less noise?”
Related Questions
Do you need color filters for deep-sky astrophotography?
Color filters can be a good way to boost the colors of deep-sky objects. They can also enhance details. Different colors will enable you to see different things. For example, a yellow filter can bring Mars’s craters to life or make you see more details on Jupiter.
What are common examples of noise on a deep-sky image?
Shot noise is very common. This refers to random changes that occur when the camera’s sensor captures photons and it can cause grainy images. To prevent it, take longer exposures and make sure you stack your images during the processing phase.
Conclusion
Deep-sky astrophotography might seem tricky, but it’s clear to see that with a bit of knowledge about deep-sky celestial objects you can definitely view them with your binoculars and telescope.
In this article, we’ve provided you with everything you need to know to view as well as capture deep-sky celestial objects such as star clusters, nebulae, and galaxies.
