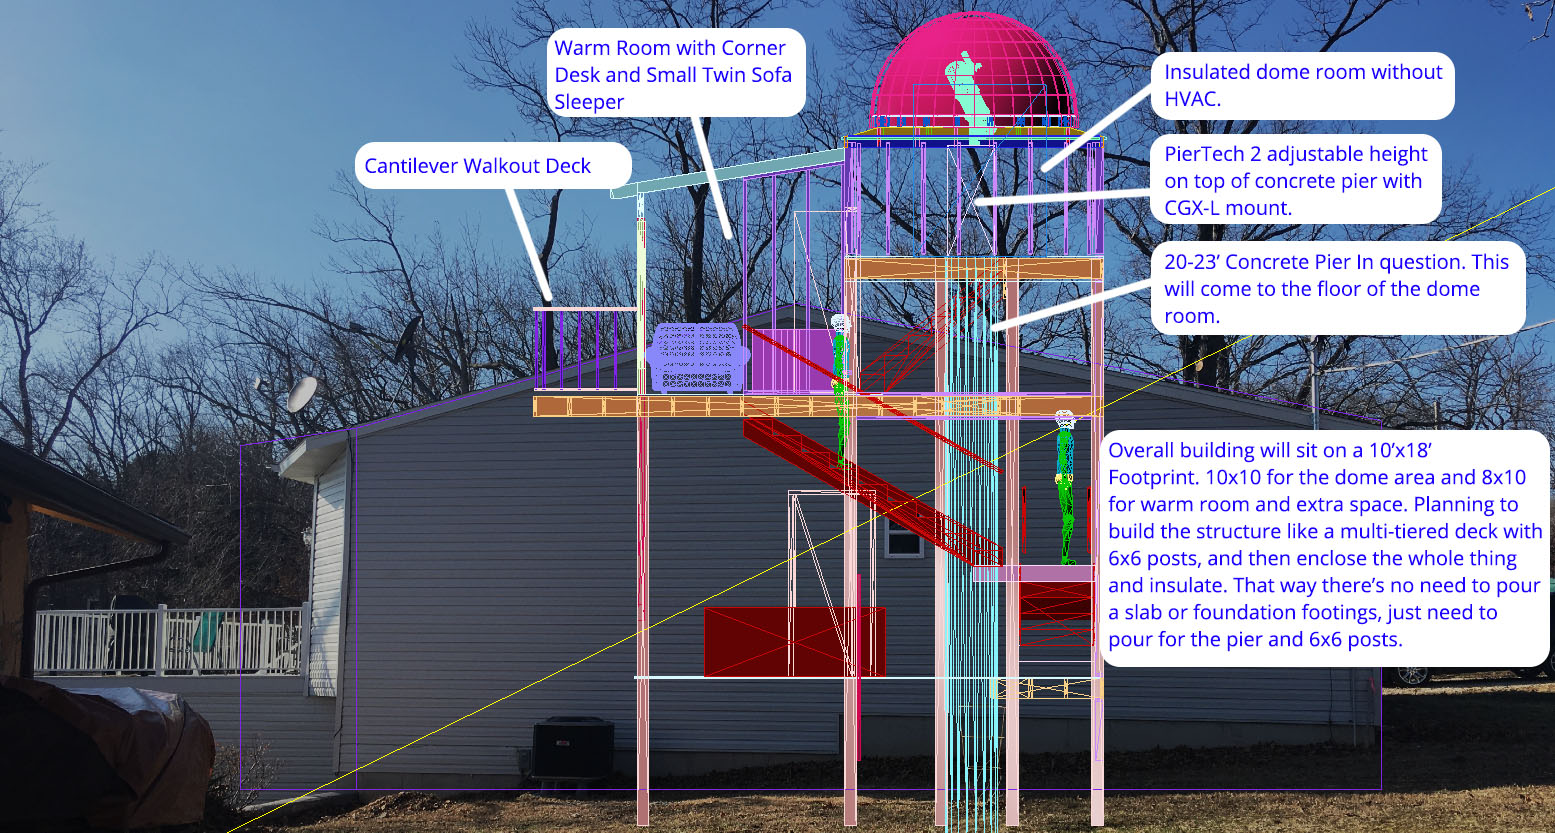
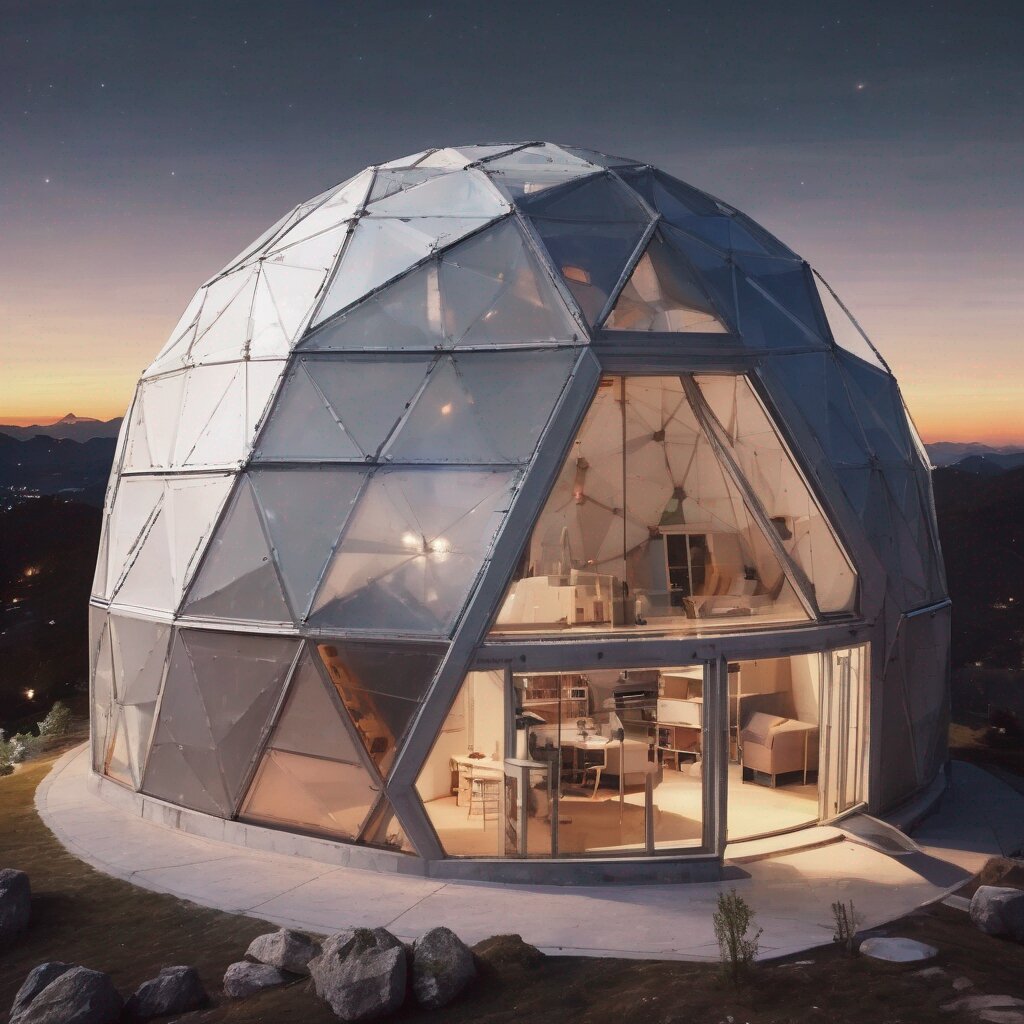
A backyard observatory can be the ultimate dream for any astronomy enthusiast or stargazing hobbyist. Having your own personal observatory steps up your viewing game and provides the perfect setup for observing the night sky right from home.
Backyard observatories have been growing in popularity over the years as more amateur astronomers seek to get the most out of their passion. While you can start simply by stargazing in an open area or setting up a temporary spot, a permanent backyard observatory offers essential benefits:
- Protection from weather and outside conditions
- Secure storage for high-end telescopes and equipment
- Comfort and convenience for longer viewing sessions
- Greater control over lighting for optimal stargazing visibility
- Dedicated space for astrophotography and data imaging
- Ability to permanently install mounts, power, computers, etc.
For many, a backyard observatory serves as the ultimate stargazing sanctuary right in their own yard. It provides everything needed for exceptional astronomy pursuits, from visual observation to astrophotography.
The great news is that today more options exist than ever before for building your own observatory, from complete kits you can order to fully custom designs. With the proper planning and effort, your backyard can become a personal gateway to the cosmos.
This complete guide to backyard observatories will cover everything you need to know, from initial planning steps to outfitting your space with the latest astronomy gear. Let’s explore how you can create the stargazing oasis you’ve always dreamed of!
Contents
Planning Your Backyard Observatory
The first step to building your own backyard observatory is proper planning. You’ll want to consider several factors as you determine the specifics of your observatory setup.
Selecting a Location
Choosing the right location on your property is one of the most important considerations for optimal stargazing:
- Light pollution – Select an area with minimal light pollution and obstruction from outdoor lighting and neighboring houses. Face the main viewing direction away from light sources.
- Visibility – Pick a spot with a good view of the sky in most directions, avoiding obstructions like trees and buildings.
- Accessibility – Choose a location that is reasonably accessible for transporting equipment and allows comfortable entry and exit.
- Utilities – If installing permanent utilities, pick a spot near power and water sources to simplify connections.
- Placement – Consider placement in relation to your home. Distance from the house and accessibility will be critical factors.
Permits and Zoning Laws
For permanent structures, you’ll want to check on any permits, codes, or zoning laws for your area. Critical things to research:
- Building codes for detached structures
- Height limitations
- Setback minimums from property lines
- Whether any public hearings or approvals are required
- If there are any homeowners association restrictions
Completing due diligence will ensure your new observatory abides by local regulations.
Design and Budget
Other considerations for your planning process:
- Size – Calculate ideal dimensions based on your equipment and needs—factor in extra space for movement and additional amenities.
- Shape – Dome or box style? Shape affects space, cost, and other factors.
- Features – Determine must-have features like power, ventilation, storage, etc.
- Materials – Consider durability, insulation, and cost of materials like wood, steel, or fiberglass.
- Budget – Set a reasonable budget and get quotes if contracting out any work. Costs add up quickly.
Next Steps
Once you’ve completed the initial planning phase, you’re ready to move on to more technical steps, like preparing your foundation, assembling the structure, and installing features. Keep reading for details!
Building the Observatory Structure
Once you have the planning and logistics taken care of, it’s time to start building the physical structure of your backyard observatory. This includes laying the foundation, assembling the framework, and adding essential features.

Laying the Foundation
A proper foundation is vital to keeping your observatory stable long-term. Here are some best practices:
- Dig at least 1-2 feet deep and add a gravel base for drainage.
- Use thick-treated lumber or concrete for a durable foundation.
- Make sure the foundation is level by using a high-quality spirit level.
- Follow any frost line depth requirements for your area.
- Connect to existing utilities like electrical and water lines if possible.
Take care to lay the foundation accurately, as this will dictate the rest of the structure.
Assembling the Framework
Next up is assembling the actual observatory framework on top of the foundation. There are two main options:
Observatory Kits
- Complete kits ordered online make assembly easy
- Made of powder-coated steel, aluminum, or wood
- Usually domed roof or retractable panel style
- Often include accessories like motors or ventilation
Custom Builds
- Fully customized to your specifications
- More complex but allows complete creative freedom
- Can use various materials like fiberglass, sheet metal, wood
- Opportunity to include unique features
Either option allows you to get the basic structure built relatively quickly.
Installing Essential Features
To complete the observatory structure, you’ll need to add:
- Electricity – Hardwire electrical for outlets and control panels
- Ventilation – Fans for airflow and/or HVAC systems
- Storage – Shelving, cabinets, and closets for equipment
- Walls/Insulation – For climate control, safety, and aesthetics
Prior proper planning will ensure you don’t overlook any essential features during the building phase.
The framework and features provide the backbone for your backyard observatory. Next, we’ll look at options for your dome and outfitting the interior.
Selecting and Installing the Observatory Dome
One of the most exciting parts of building a backyard observatory is choosing and installing the dome. The dome is the iconic structure that houses the telescope and viewing window.
There are a few considerations when selecting an observatory dome:
Dome Styles
- Rotating dome – Entire dome rotates open and closed. Most common option.
- Retractable roof – Roof panels slide horizontally to open and close.
- Roll-off roof – Roof panels roll off the side of the structure to open.
- Shed style – Angled roof with a sizeable swing-open hatch for access.
Rotating domes are generally preferred for their superior protection and adjustability. But retractable and roll-off panels provide simpler operation.
Dome Materials
- Fiberglass – Lightweight but expensive option. Requires regular maintenance.
- Steel – Heavy duty and most weather resistant. It can be noisy.
- Aluminum – Lightweight like fiberglass. Resists rust and is cheaper than steel.
- Wood – Affordable option but higher maintenance and less protection.
Consider your climate and budget when selecting dome materials.
Motorized vs. Manual
- Motorized – More expensive but allows remote and automated operation.
- Manual – Must be opened and closed by hand. Cheaper option.
Motorized domes offer much more convenience if within your budget.
Proper dome installation is also key – it must rotate smoothly, and the slit opening must align precisely with the telescope. With good planning, you’ll have the perfect dome for your celestial viewing!
Next, let’s go over recommendations for outfitting the interior.
Outfitting Your Observatory Interior
Once the physical structure is complete, it’s time for the fun part – outfitting the interior! The gear you choose will customize the space for your particular astronomy pursuits.
Telescopes and Mounts
The centerpiece of any observatory is the telescope and mount:
- Reflector telescopes – Great for visual use and astrophotography. Common choices are Newtonian and Dobsonian reflectors.
- Refractor telescopes – Excellent for lunar, planetary, and bright deep sky imaging. Not ideal for visual use.
- GoTo mounts – Higher end but make finding objects easy. Essential for astrophotography.
- Manual mounts – Affordable and good for visual use. Require manually finding objects.
Select models suited to your primary interests, whether visual observation or astrophotography.
Astrophotography Accessories
To outfit your observatory for astrophotography, consider adding:
- Camera and adapters – DSLRs or CCD astrophotography cameras.
- Guiding scope and camera – For guided long-exposure imaging.
- Focusers – Allow fine focus adjustments for crisp images.
- Filters – Enhance image quality and detail.
- Flat boxes – For flat frames and correcting vignetting.
- Dew heaters – Prevent image-ruining dew formation on optics.
Computers and Software
Astrophotography requires specialized computer equipment and programs:
- Laptop or desktop – Powerful astrophotography and image processing needs.
- Cables/cords – For connecting all components.
- Polar alignment software – Precisely polar align your mount.
- Capture/imaging software – Interface with cameras and auto guide.
- Image processing software – Stack images and perform post-processing.
Storage Solutions
Having ample storage space for all your equipment is key:
- Cabinets and closets – For imaging accessories, eyepieces, barlows, etc.
- Shelving – Sturdy shelves to hold heavy gear.
- Drawers – For smaller items like lens caps and adapters.
- Desks – Provides a working area for using laptops.
With your observatory fully outfitted, you’ll have an incredible setup for unlocking the secrets of the night sky!
Using Your Backyard Observatory
Once your backyard observatory is finally complete, it’s time to start putting it to use! Here are some recommendations for activities you can pursue in your new stargazing sanctuary.
Visual Astronomical Observation
For visual astronomy, your observatory allows convenient, protected observation of celestial objects like:
- Planets – Observe details like cloud bands on Jupiter or ring shadows on Saturn.
- Moon – View craters, mountains, and maria (dark plains) on the lunar surface.
- Deep sky objects – Resolve colorful nebulae, spiral galaxies, star clusters, and more.
- Sun – Safely project sunlight to observe sunspots and solar activity (with proper filters).
Tips for great visual observation:
- Use lower power eyepieces for brighter views.
- Let your eyes fully dark-adapt before observing faint objects.
- Keep detailed notes, drawings, and charts of observations.
Astrophotography
An observatory is ideal for the astrophotography of:
- Deep sky – Galaxies, nebulae, star clusters. Requires long exposure imaging.
- Planetary – Inner planets and outer gas giants. Short exposure.
- Moon – Can image detailed lunar features.
Astrophotography tips:
- Use equipment like auto guiders and filters to get sharp images.
- Take calibration frames for image processing.
- Carefully polar align and balance mount.
- Stack images and post-process for best results.
Outreach and Education
You can also use your observatory for:
- Hosting stargazing events for students, scouts, or community groups.
- Livestreaming views through your equipment for virtual events.
- Inspiring interest in astronomy by introducing others to the hobby.
With a backyard observatory, you have an incredible platform right at home for pursuing your passion for astronomy to the fullest.


