Our goal is to photograph the night sky as it appears, not just star trails. In astronomy a piggyback method, camera optics are employed instead of the telescope’s optics. As for the telescope in this method, we only need him as a camera mount. Because as we know, Earth rotates 15 degrees per hour, causing long exposure images of stars to appear like trails when taken at high speeds.
To use the piggyback method, the camera must track the stars, which must rotate at the same pace as the Earth. This is obviously considerably more time-consuming, but it may provide magnificent images of large regions of the sky, displaying stars that are otherwise impossible to see even with a telescope.
It is necessary to have a camera that rotates at a rate of 15 degrees per hour around an axis aligned with the Earth’s axis to accurately track the stars. There are two primary methods for accomplishing this:
Contents
Barn Door Tracker – Star Tracker DIY Aproach
This approach necessitates the use of the following items:
- An SLR camera allows you to shoot long exposures using a cable release
- Some wood and other materials
Piggyback method with telescope mount
This approach necessitates the use of the following items:
- As previously indicated, a camera that allows you to take long exposures using a cable release is required.
- It is necessary to have a very sturdy mount for an equatorially placed telescope, else the vibrations would spoil the image.
- You’ll need to figure out how to link your camera to your telescope.
Set up your equatorial mount in the usual manner, with the celestial pole as the reference point. You should align your camera so that it points in the same direction as the telescope and then focus the camera on infinity (don’t forget to do this, or else you’ll be wasting your time!).
This may be accomplished with almost anything. However, piggyback attachments are available for most telescopes, and they have a standard fitting that is compatible with any camera’s tripod attachment. These are available for most telescopes.
Tracing the stars across the sky
To ensure that the stars in the telescope’s field of vision remain in the center of the image, you will need to move the telescope extremely gently throughout the whole exposure. If you use a telescope as a mount rather than a barn door, the advantage is direct exposure and tracing the stars across the sky.
Even if you have a motor drive, you will still need to keep an eye on it because no guiding system is entirely foolproof. A brilliant star in the region you wish to capture should be centered in the telescope’s eyepiece before you start shooting.
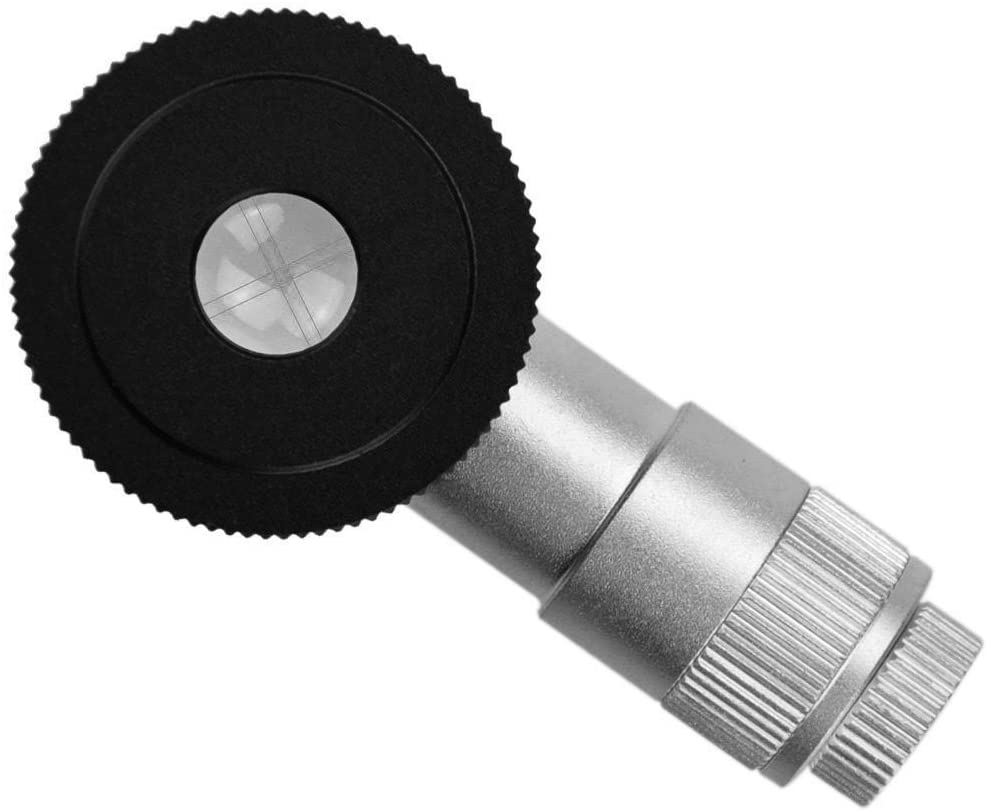
An eyepiece with a crosshair is beneficial (find out how to align telescope during day), although decent results can be obtained even without one of these devices. If you hold this star in the center of the eyepiece while the camera’s shutter is open by rotating the RA axis, the shot will come out correctly, with all of the stars exposed as single points. In fact, though, it is not flawless, and you must be prepared to accept some degree of inaccuracy in your guidance.
It is dependent on the magnification ratio between the camera’s lens and the eyepiece (as well as your ability and patience!) to determine the precision of your guiding system. Using a 40x magnification eyepiece and a 50mm camera lens (considered 1:1- 1x magnification), any inaccuracy in your guiding (or vibration) will be 40 times more minor on film than it would be with a digital camera.
Here is a good video about piggyback in astronomy.
Using a telephoto lens or an unstable mount may cause vibrations, which will cause your errors to be seen on the film and damage the shot. To avoid this, either raise the magnification or lower the magnification focal length) of your camera lens. However, don’t set the ratio too high so that you get overly concerned about what appears to be a significant divergence in the eyepiece but is actually only a minor deviation on film.
Recall that your exposure time is limited by light pollution, as is your ability to be patient. Start with shorter exposures and wide-angle lenses on your camera, then gradually increase the length of your exposures.
Whether or if you can accomplish this with an Alt-az mounted scope if you track attentively is something you may be thinking. You can, to a certain extent, answer this question. Although you are precisely tracking, the field of vision appears to be rotating slowly because the camera is not aligned with the Earth’s rotational axis (star trails). You may take exposures with a 35mm lens for up to a couple of minutes before this occurs. If at all feasible, align it in the polar orientation.
Conclusion
This is challenging to master since several dangers might cause your shot to fail. Keep trying, since this approach has a lot of promise, and the most spectacular images may be obtained with only an ordinary camera and telescope that has been adequately guided over the night sky. Don’t give up!


