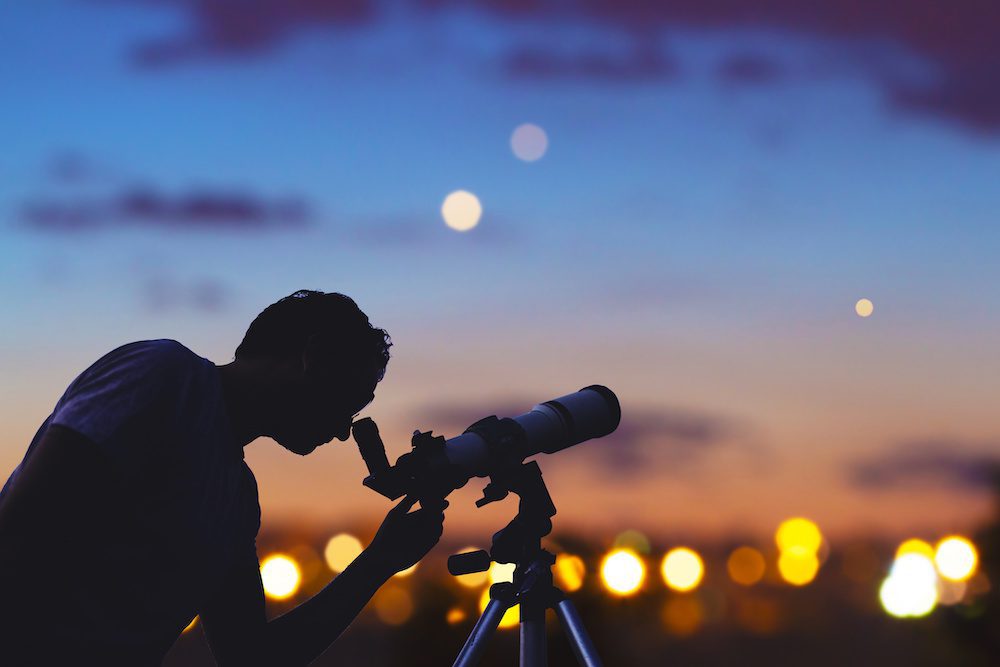
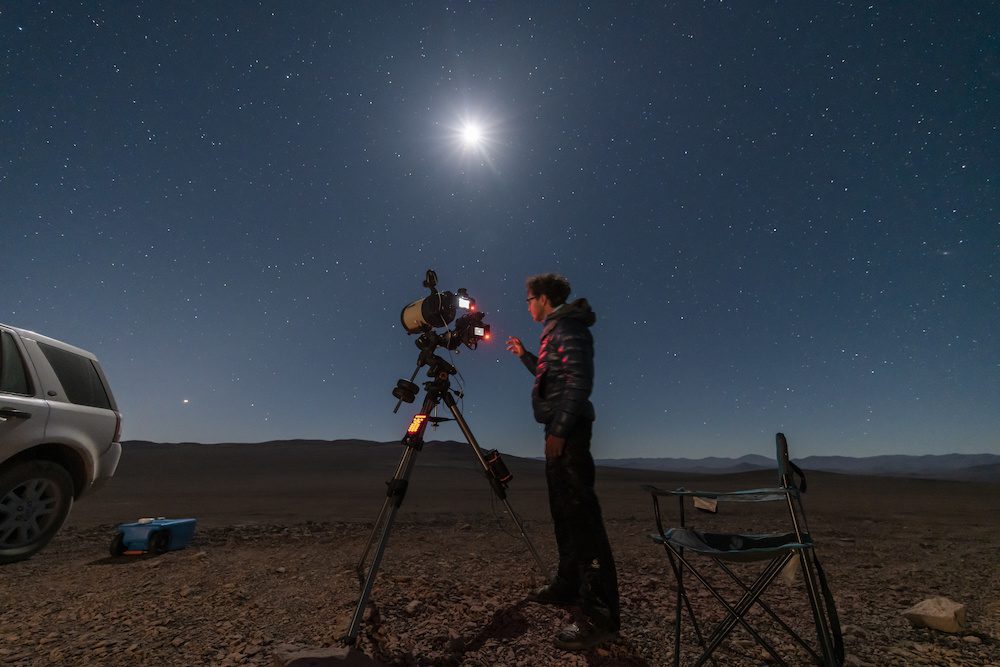
While we all enjoy watching the night sky, some take it a step further and make sure they get the best possible view. You might be interested in gazing at the stars, the moon, the planets, or any other celestial object—without a telescope, you’re missing out on a lot.
Telescopes are there to make viewing the astral sky a better experience. However, the only way to make it work its magic is to learn how to focus a telescope. Today, you will learn about how to properly focus your telescope and get an instant upgrade to your sky-gazing experience.
Contents
How to Focus a Telescope
The importance of getting the right telescope is one thing; setting it up at the right location is another. Once you get to know the parts of your telescope well enough, the next thing to do is to learn the ropes. Rather than constantly turning focusers and screws, it would help to know exactly how it should be done.
Step 1: Do your research.
Outside of what we know are parts of the solar system, there are many other things you can find looking through your telescope. There are countless celestial objects in the observable universe, from stars to natural satellites and exoplanets. As such, your excitement to master using your telescope is understandable.
The giant planets, Mars, Earth, Venus, Mercury, Jupiter, Neptune, Saturn, and Uranus, along with the dwarf planet, Pluto, will be yours to witness only if you have the patience and perseverance needed. At first, you might think that you can easily spot all of these wonders. In truth, they will be visible depending on the time of the year and where you will view them from.
If your goal is to view the planets, the first step would be to get a planet guide. This will present you with an idea of which planets will be visible in the night sky at a given time, as well as where to see them.
Step 2: Align your telescope’s finder.
Once you decide which planet to search for, you can start the process by aligning the finder on your telescope. This is the small tube located on the side, and its purpose is to let you view smaller entities in the sky. However, it can only work if it is set correctly.
As you do this, do a test run on any object around you, for instance, a distant building or a tower. Once you are acquainted with the process, direct your finders to the object and try to center the crosshairs on it.
Use the screws to adjust the finder on the side of the telescope. If your telescope allows you to lock the settings in place, do so. Any type of movement can change the entire configuration.
The process will not be a walk in the park for first-timers, as you may fail on the first try. The key is to believe that you will be able to set it right with several attempts and adjustments.

Step 3: Set the telescope to the lowest magnification.
Focusing your telescope becomes easier if you set your eyepiece’s magnification to the lowest setting. This is the highest number available in millimeters. Meanwhile, to determine the telescope’s magnification, you will have to divide your telescope’s focal length by that of its eyepiece.
Granted that you have a 1,200mm focal length with a 25mm eyepiece, applying the formula mentioned will give you a magnification of 48. It is good to remember that the magnification of any telescope will be greater for one with an eyepiece that has a smaller focal length. With this setting, it is easier to locate the objects that you plan to center on.
Step 4: Direct and set the telescope’s finder on the object.
The main goal is to make sure that the crosshairs are in the direction of the object you want to view. Since you have already set your magnification and aligned your finder, viewing the object will be easier.
Make sure that the crosshairs are situated at the center of your target. Once you set the finder in place, there should be no other movement or bumps to it or the telescope, as this can change the alignment.
Step 5: Set and direct the telescope’s eyepiece.
After setting the finder, take a peek into your telescope’s eyepiece and locate the object. Feel free to move the telescope, and make sure it is centered. If you have aligned your finder properly, your eyepiece will most likely be near the same setting.
The goal is to have the finder, along with the telescope, focused and centered on the same object. In case you encounter difficulty locating it with your eyepiece, try to check your finder’s setting and realign it as necessary.
Step 6: Set your view to sharp focus.
Once the object is visible, you can proceed to improve its focus by turning the knobs located on the side of the telescope. These knobs will adjust the eyepiece’s and lens’ distance. It can lengthen and shorten, allowing you to get a sharper focus on the object you are trying to view.
If you feel that the image you see does not have the resolution you want despite making sure the settings are correct, evaluate the type of scope you are using. The standard home scopes get the work done, but a more powerful model will give you a way better view of the night sky.
Conclusion
Learning how to focus a telescope is the first thing beginners should master. We all have to start somewhere, and in your venture to discover the beauty of the galaxy, knowing how to view its gems is an excellent place to start.
Just like any other skill, focusing your telescope will not be easy the first time you try it. However, with enough practice and determination, you will be able to reap its rewards as you go. Enjoy your first planet gazing experience by following the steps mentioned above and brace yourself to see the wonders of the universe.


