The method of prime-focus in astrophotography means the telescope gathers light and magnifies the picture captured by the camera. This implies that it must maintain precise alignment with the stars.
The prime focus approach is more challenging to master than the other methods. It entails utilizing your telescope as a very long camera lens to do this.
Contents
What kinds of things may you shoot with prime focus technique?
Unless you have a gigantic telescope, I’d recommend sticking to the moon and, if your telescope has a long enough focal length, the planets as your primary targets.
This is since they are brilliant and, as a result, simpler to photograph than deep-sky objects. Because there is nothing to see through during the exposure (you cannot see through the camera viewfinder while the shutter is open), you cannot guide the subject with the prime focus.
You will need the following items to complete prime focus method:
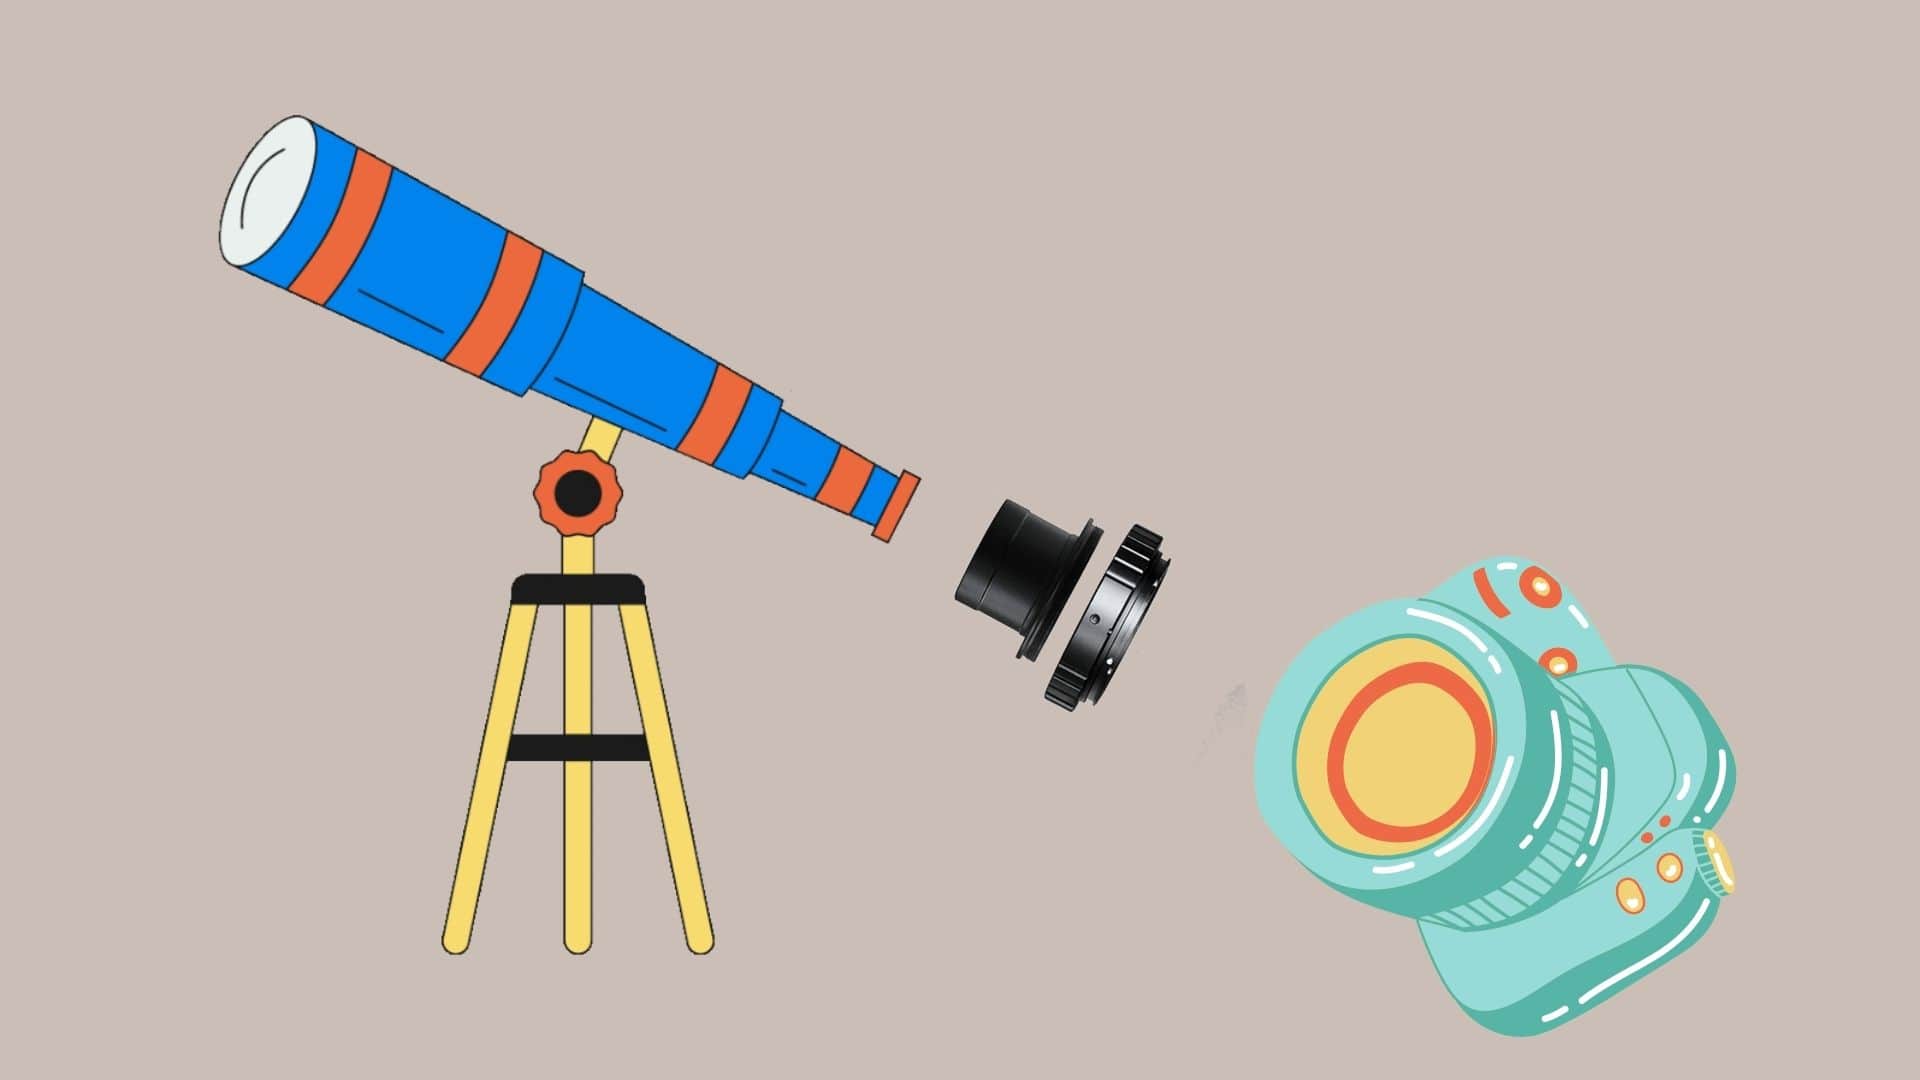
- A telescope, of course!
- The camera has a detachable lens – film or digital – such as a DSLR.
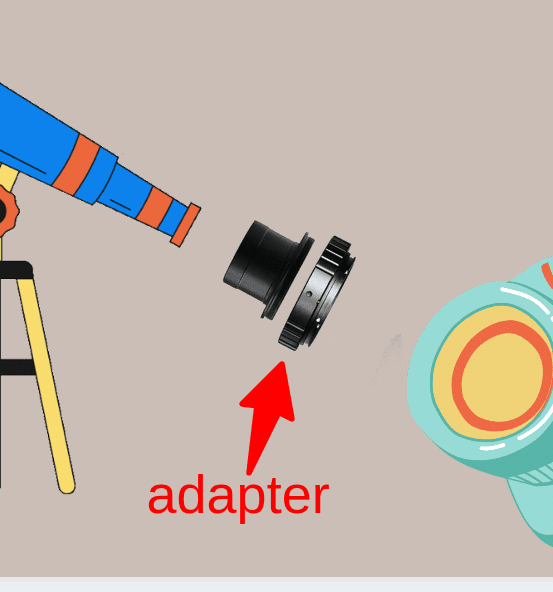
- An adapter for connecting a camera to a telescope. A T-ring is any mechanism that connects the eyepiece holder (or, in some cases, a specific photo-cell located at the rear of the telescope) to a standard thread into which all T-rings may be threaded (I’ll explain what T-rings are in a minute). A typical adapter of this type would have a barrel at the bottom, similar to an eyepiece, and a broader section at the top, with a screw thread on it.
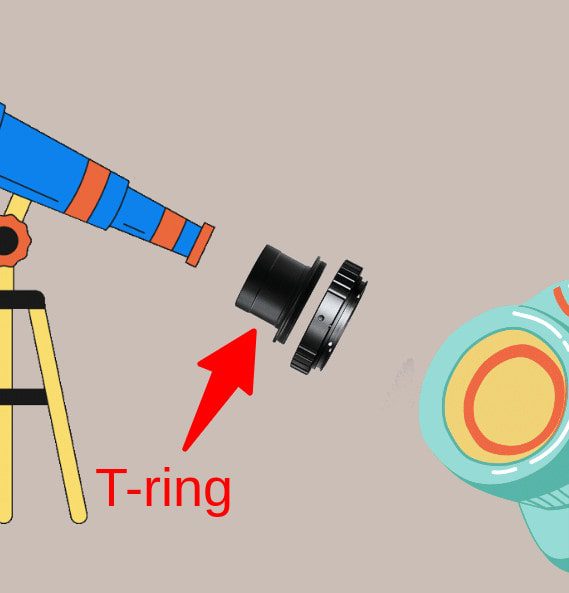
- A T-ring is used on the inside, it has a standard screw thread (which is compatible with all camera-telescope adapters). The exterior has an attachment that is particular to your camera. It is made of metal. Depending on the manufacturer, either a screw-thread (Pentax) or bayonet can be used (Minolta, most other manufacturers). The apiece camera maker has their own T-rings, which are usually approximately $10 each.
- A cable release is convenient, although it is not required. Alternatively, if you don’t have a tripod, you may utilize the timer function on your DSLR to avoid having to touch the camera when the shutter opens.
An SLR is required since the telescope has been transformed into the camera’s lens, and to see through the telescope, the camera’s viewfinder must be gazing directly through the lens (an SLR).
You may purchase an old mechanical SLR if you already have a digital SLR because it will be easier to learn the technique. After all, you will be able to see the results right away. However, digital cameras struggle with long exposures (due to battery life and heat on the sensor causing noise on the image). You would be better off purchasing an old mechanical SLR because you will not run down the batteries, and you will be able to do the other methods I’ve described as well.
So you’ve got your camera, a T-ring, a camera to telescope adapter, and a telescope in your possession. Remove the lens from the camera and replace it with a T-ring to complete the process. The camera-telescope adapter should be screwed into the T-ring, and the barrel should be placed in the eyepiece holder. Using the camera’s viewfinder, you should be able to see through the telescope (you may need to adjust the focus a little because, at prime focus, the focus point is generally at the extreme of the telescope’s range of focus). You should be ready to go at this point!
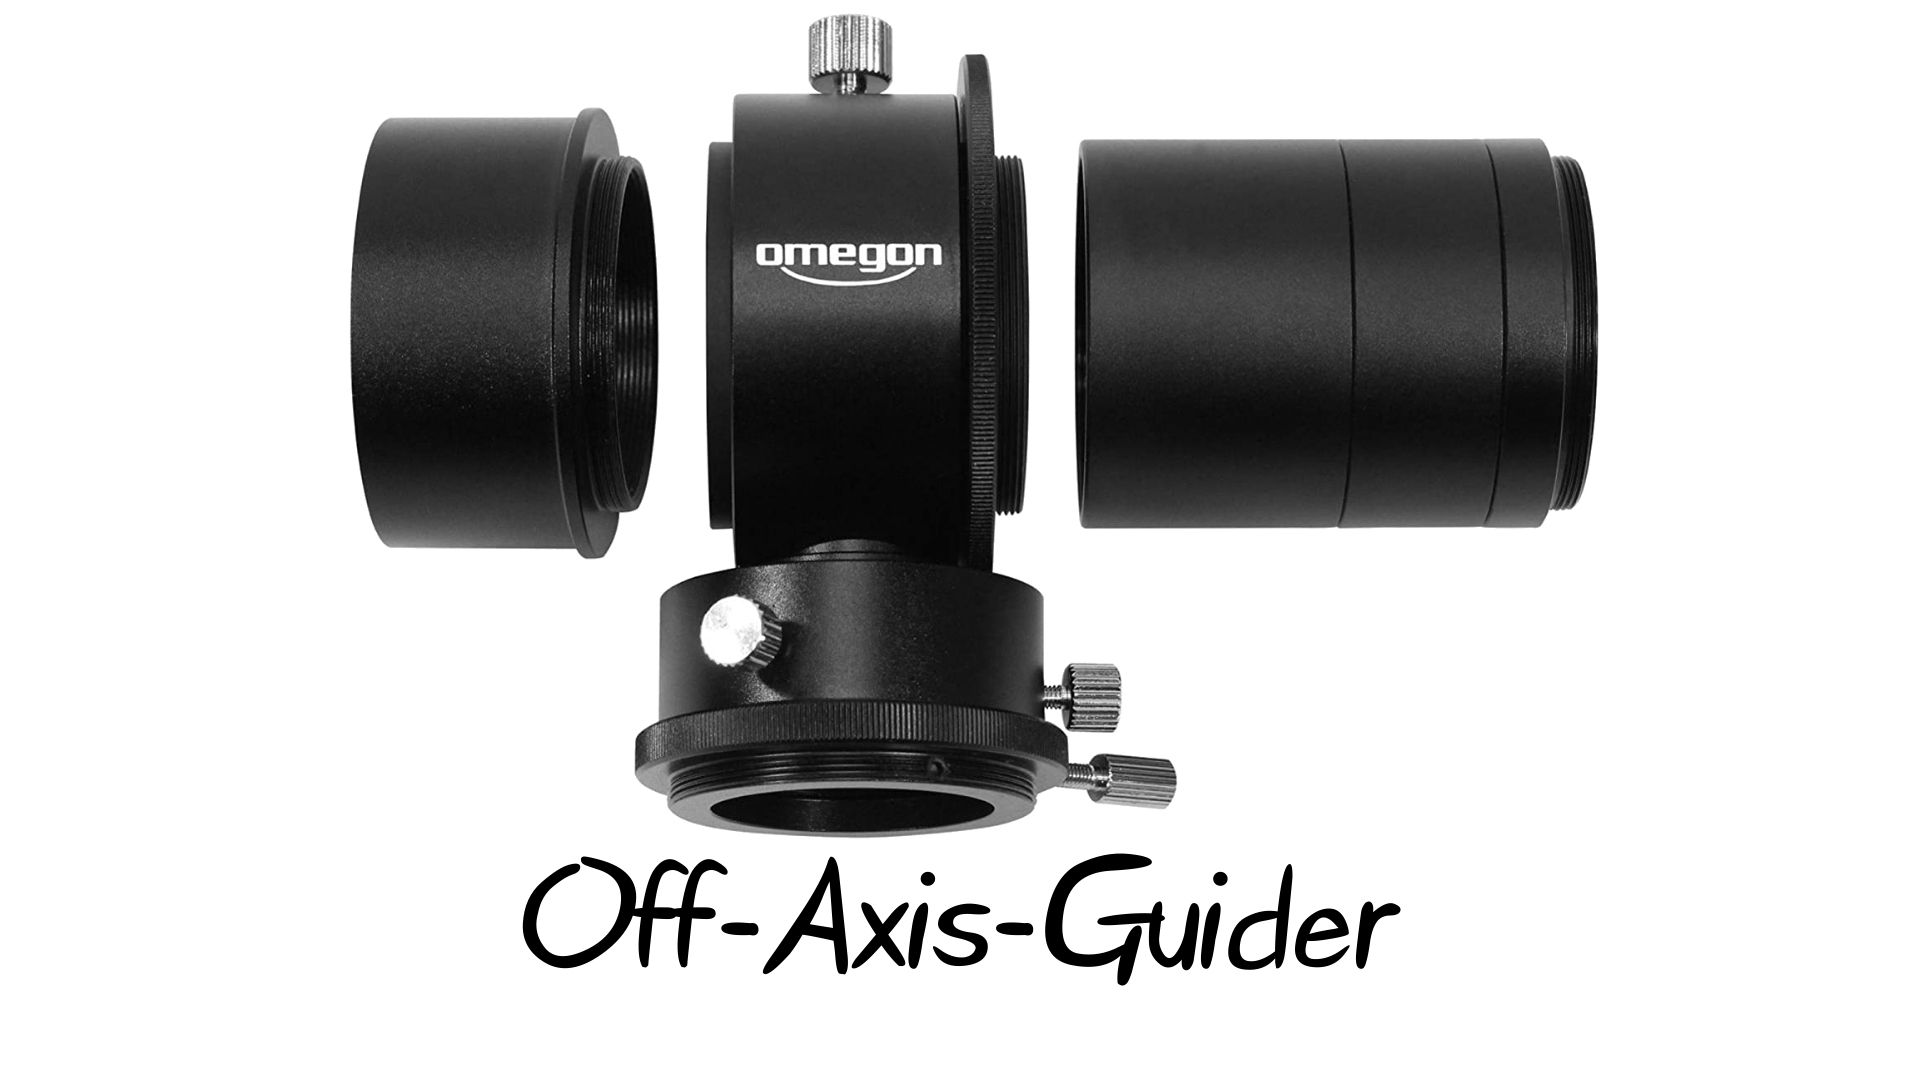
Off-axis guiders?
Off-axis guiders are devices that divide part of the light throughout the exposure so that you can see what’s going on in front of your lens. In principle, the only thing that limits your exposure duration with one of these is your ability to guide and the amount of light pollution around you.
With this strategy, on the other hand, you are restricted to short exposures (a few seconds at most). This should be sufficient to get some passable images of the moon and planets.
Prime Focus method in astrophotography is ……. challenging
The most challenging aspect of prime-focus photography is getting the exposure right. Your camera’s light meter will most likely not function properly since it will not adjust for a dark sky (it was not meant to perform well in these situations).
The best thing to do is to shoot a large number of shots at various exposure settings.
Write down the settings for each photo, and compare them to the final images when they are returned from the laboratory (this is where digital owners have the one-up- they can see what works straight away). Expect to go through one or two rolls of film while learning the process and perfecting it.
The amount of magnification you receive is actually relatively small. It is about equal to the focal length of your telescope divided by 50. It is possible to enhance the magnification by using a Barlow lens.
Most camera-telescope adapters include a screw hole in their barrel, which allows you to remove the lens from your Barlow and insert it into your camera-telescope adapter, thereby doubling the magnification (remember, though, you trade off brightness and sharpness for it).
When using this approach, keep in mind that the corners of the film may get darkened at times because the telescope lens is round and the film is square; this is referred to as vignetting. In most circumstances, though, it won’t make a difference because the background is black in any case!
Consider the following methods if you want a more simplified approach.
Related Questions
What is Eyepiece Projection ?
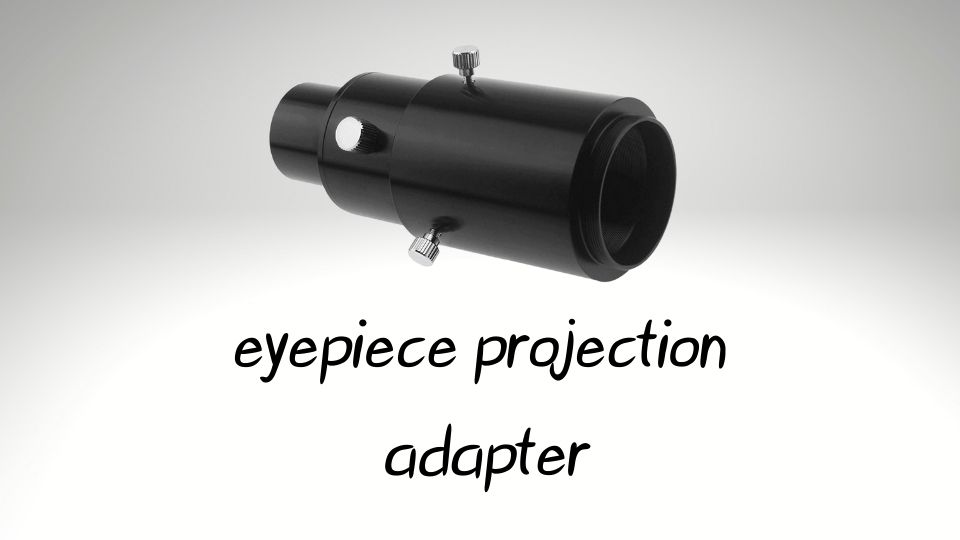
‘Eyepiece projection’ is a technique for shooting images via a telescope’s eyepiece by utilizing a camera with its lens removed. It is typically employed when high magnification is necessary, such as when photographing planets or lunar features.
A challenge that arises when using this form of imaging is properly connecting the camera to the telescope and ensuring that it is perfectly aligned with the telescope’s eyepiece.
Some eyepieces include a threaded connection point built into the top of their bodies that may be used with an eyepiece projection adapter to create a highly robust and perfectly aligned threaded attachment point.
What is the primary focus of a telescope?
The short answer is when a telescope or camera lens generates an image directly on the camera’s sensor.
What is Infinity Focus
An infinity focus on a camera lens means that light rays flowing into the camera sensor are parallel and arrive as points.
Back-focus in astrophotography
The distance between the rear of your telescope and the point where light is focussed is known as back-focus measurements.
You must set your camera (or eyepiece) at this location to get an in-focus image. The sensor plane should be 100mm away from the telescope’s end. For example, your telescope has a back-focus of 100mm.
Backfocus is crucial when employing items like focal reducers or field flatteners. To get the most out of this sort of equipment, you’ll need to keep your camera at a specific distance from the subject.
What is Circe Of Confusion in camera?
A lens system’s picture of a point source item on its focal surface. The lens’s accuracy and focus condition determine the blur circle size, i.e., aberrations, defocusing, and manufacturing faults.
What does Bahtinov mask?
Using a Bahtinov mask might help you get your astrophotography photographs into excellent focus.
How to attach a camera to Celestron telescope
In this case, a T-adapter is the quickest and most convenient solution.
What does f10 mean on a telescope?
The “focal ratio” of a telescope is equal to the “f/number” of the telescope. It is marked as “f/10” for a scope that has a focal LENGTH of 1000mm and an aperture (diameter) of 100mm, which has a focal ratio of 10. A 125mm aperture with a 1000mm focal length is an aperture of f/8.
What is Bahtinov Mask
It is named after its inventor Pavel Bahtinov, a Russian amateur astronomer who created this device in the 1960s. The Bahtinov mask mechanism is used to assist in photographing non-periodic astronomical objects such as planets. This mask provides a quick and easy way to determine, both visually and photographically, whether the telescope is correctly focused.
The mask has faint grid lines with sharp edges which are placed just above the object to be photographed. Because of the variations in the spacing between the grid lines, the focal plane of an out-of-focus astronomical image will look like a fuzzy line when that image is viewed or captured using a camera.
As the telescope is focused through successive iterations, the obviousness of the line’s high and low points will correspondingly increase. When the image suddenly looks sharp, it is known that focus has been achieved on that particular setup, and due to the simple construction of the mask, this can happen within seconds.
- Here is the link oh how to make a Bahtinov mask .
- Here is the link to the Bahtinov mask drawing generator


